This workflow will show you how to create a new project prior to scanning with the Leica C10 Laser Scanner.
Hint: You can click on any image to see a larger version.
[wptabs style=”wpui-alma” mode=”vertical”]
[wptabtitle] Start a new project[/wptabtitle]
[wptabcontent] From the main menu click the ‘Manage’ icon.
Click ‘New’ to start a new project
 Click into the ‘Name’ box and a keyboard will appear. Enter your desired project name and click ‘Ent’.
Hit ‘Store’ to store the project folder
[/wptabcontent]
[wptabtitle] SET UP A NEW SCAN STATION[/wptabtitle]
[wptabcontent]You will now see your project highlighted in the ‘Project list’. Click ‘Cont’.
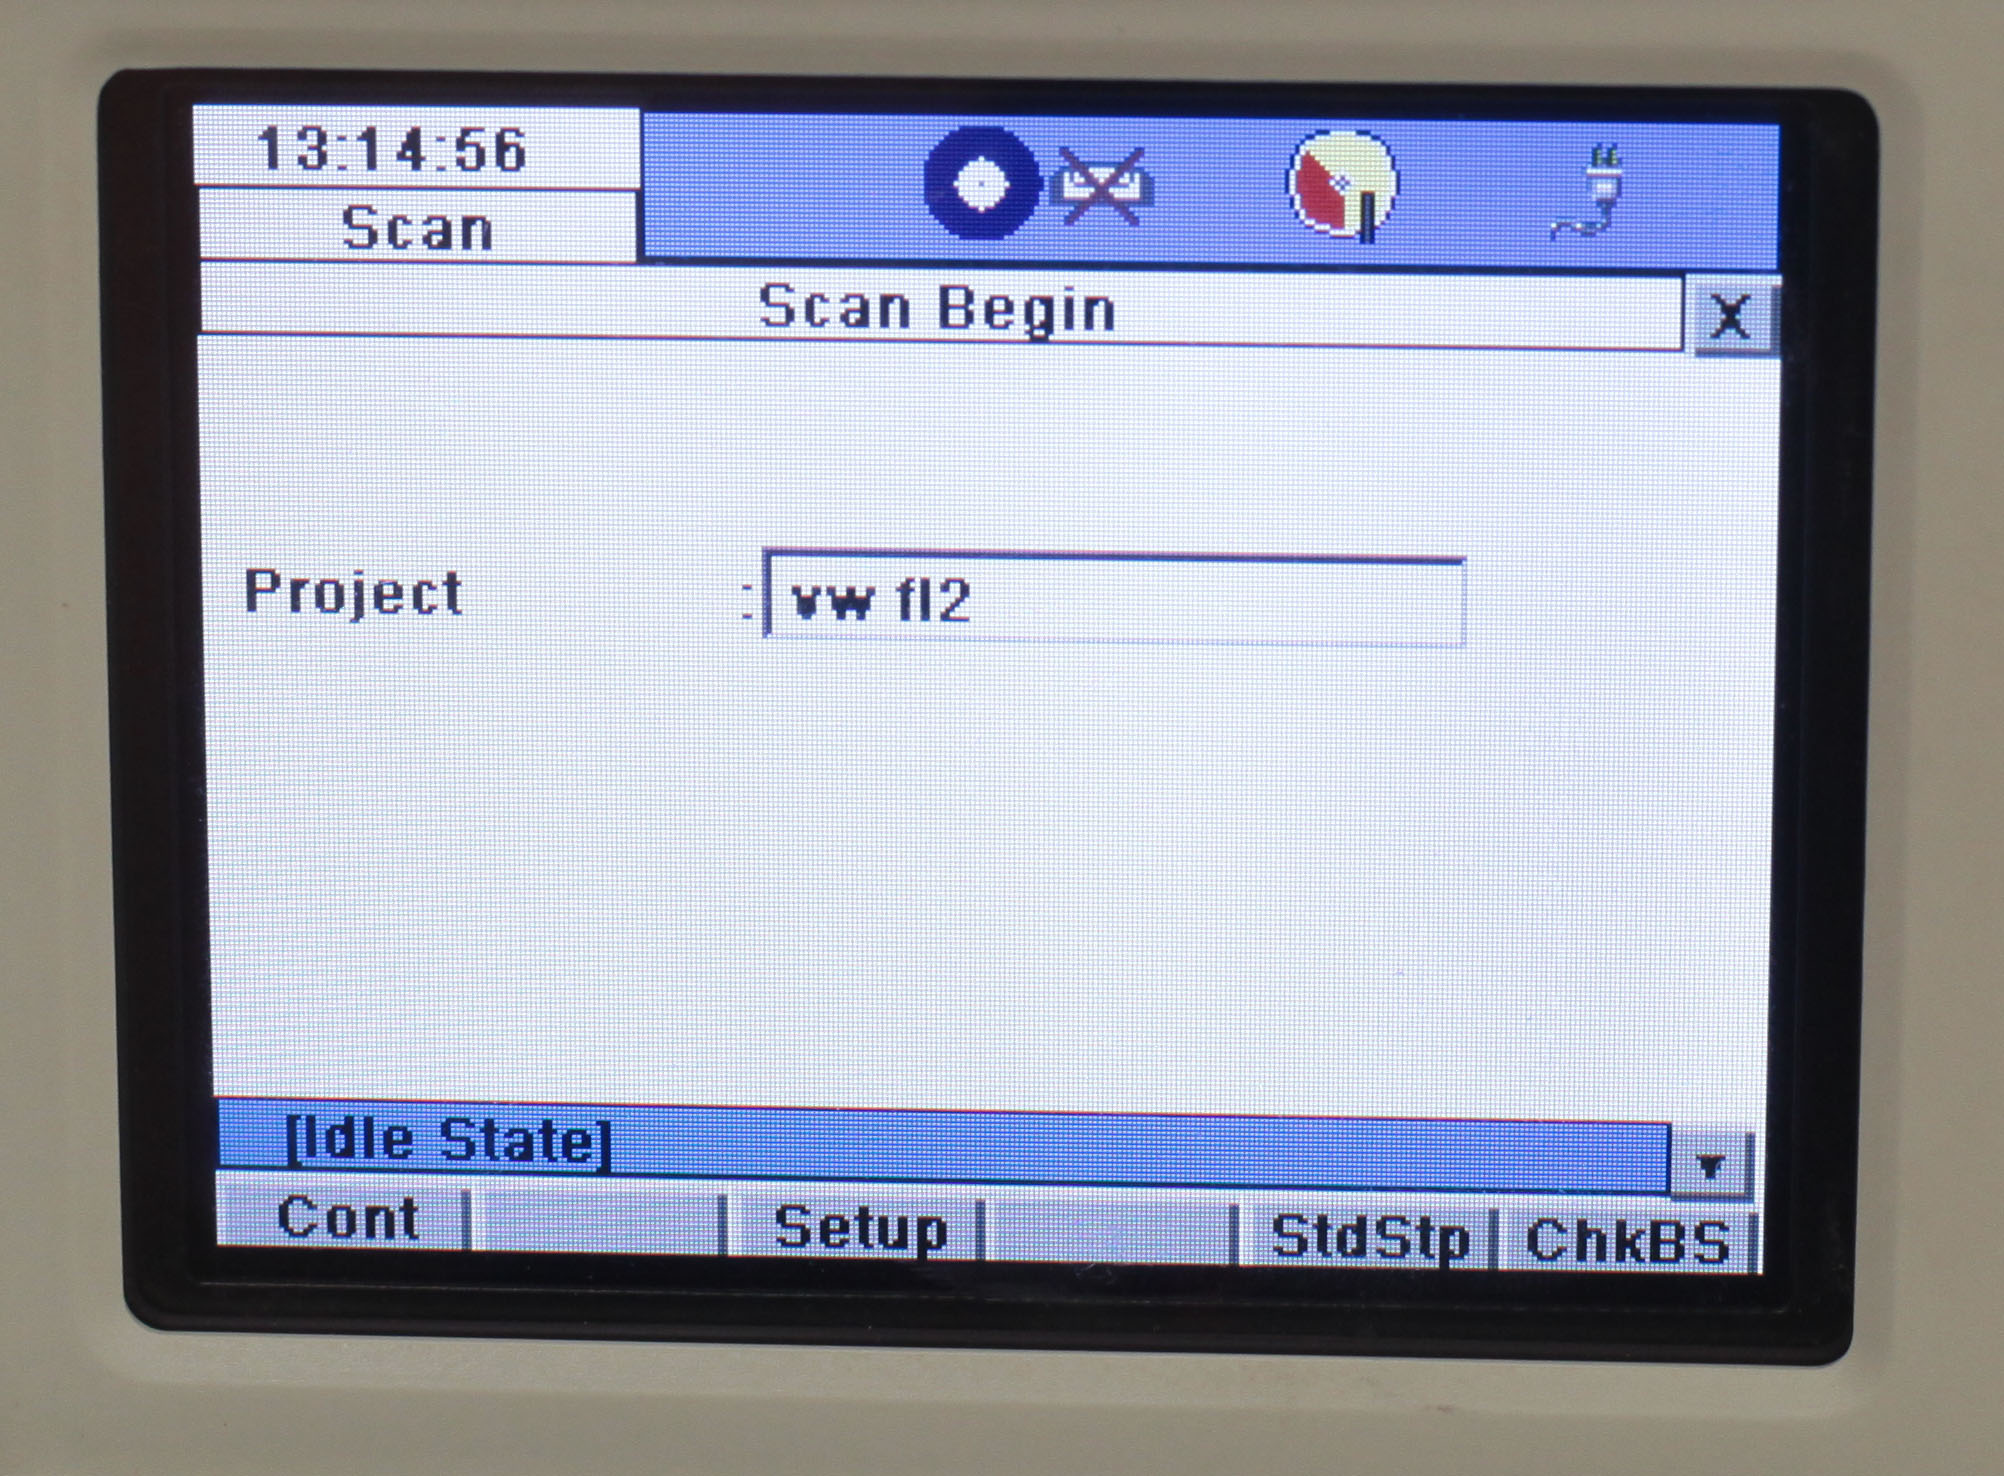
This will return you to the main menu – click on the ‘Scan’ icon.
![]()
Click ‘NewSt’ to create a new station setup. Confirm your project is listed. Choose ‘StdStp’ (Standard Setup highlighted in magenta below).

[/wptabcontent]
[wptabtitle] SELECT PRESETS[/wptabtitle]
[wptabcontent]Click the drop down arrow to the right of the ‘Presets’ menu
Select the appropriate preset or enter a custom field of view.
Preset Horizontal FoV° Vertical FoV°
Custom View User defined User Defined
Quick Scan Defined by QS aiming 135(-45- +90)
Rectangle 60×60 60 60
Rectangle 90×90 90 90
Rectangle 360×60 360 60
Rectangle 360×90 360 90
Target all 360 270[/wptabcontent]
[wptabtitle] SET RESOLUTION[/wptabtitle]
[wptabcontent]Click into the ‘Resolution’ tab and choose the resolution desired. We are initially recommending a 7 minute ‘Medium Res’ Scan.
Preset Horizontal Spacing Vertical Spacing Range
custom res user defined user defined user defined
low res .2m .2m 100m
medium res .1m .1m 100m
high res .05m .05m 100m
highest res .02m .02m 100m
Once you have chosen your resolution you will see an indication of the level of detail of your results. (At Medium Resolution this will give you a point spacing of 10mm at 10m, 20mm at 20m and so on).
[/wptabcontent]
[wptabtitle] RGB DATA[/wptabtitle]
[wptabcontent]If RGB data is important, it is recommended that you manually set the exposure. Click on the Image Ctrl Tab. Set Exposure to Manual. Click on ChkExp tab at bottom of screen to check the exposure. Manually turn the scanner around the field of view, adjusting the exposure with the pull tab on the right. Once the exposure is correct, click the return key and note the value of the Time (ms). Use this value for subsequent scans in the area. Adjust this number if lighting conditions or locations change.[/wptabcontent]
[wptabtitle]CONTINUE TO…[/wptabtitle]
[wptabcontent]Continue to part 3 in the series, Leica C10: Starting a Scan[/wptabcontent][/wptabs]