This page will show you how to set up a tripod for use with a Leica GS15 GNSS receiver used as the base in an RTK survey or as the receiver in a static or rapid static survey.
Hint: You can click on any image to see a larger version.
[wptabs mode=”vertical”]
[wptabtitle] Hardware[/wptabtitle]
[wptabcontent]
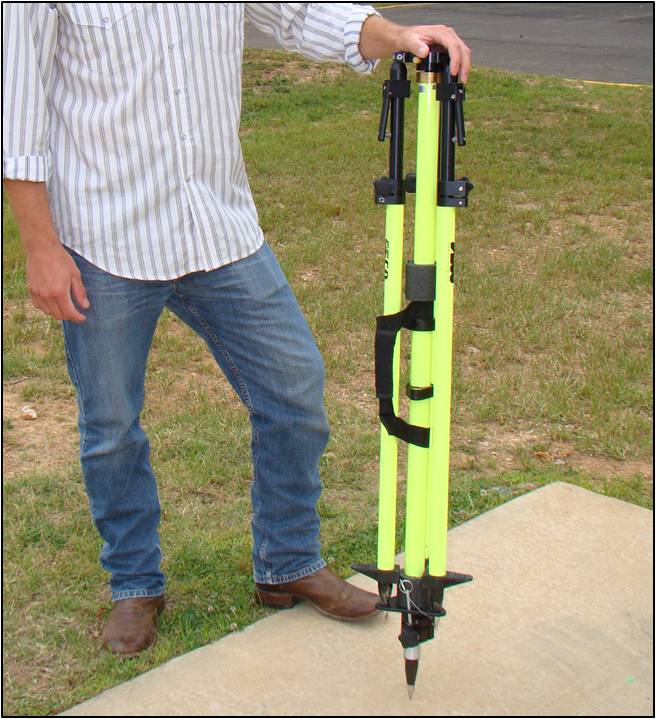
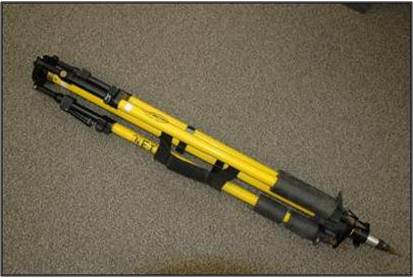
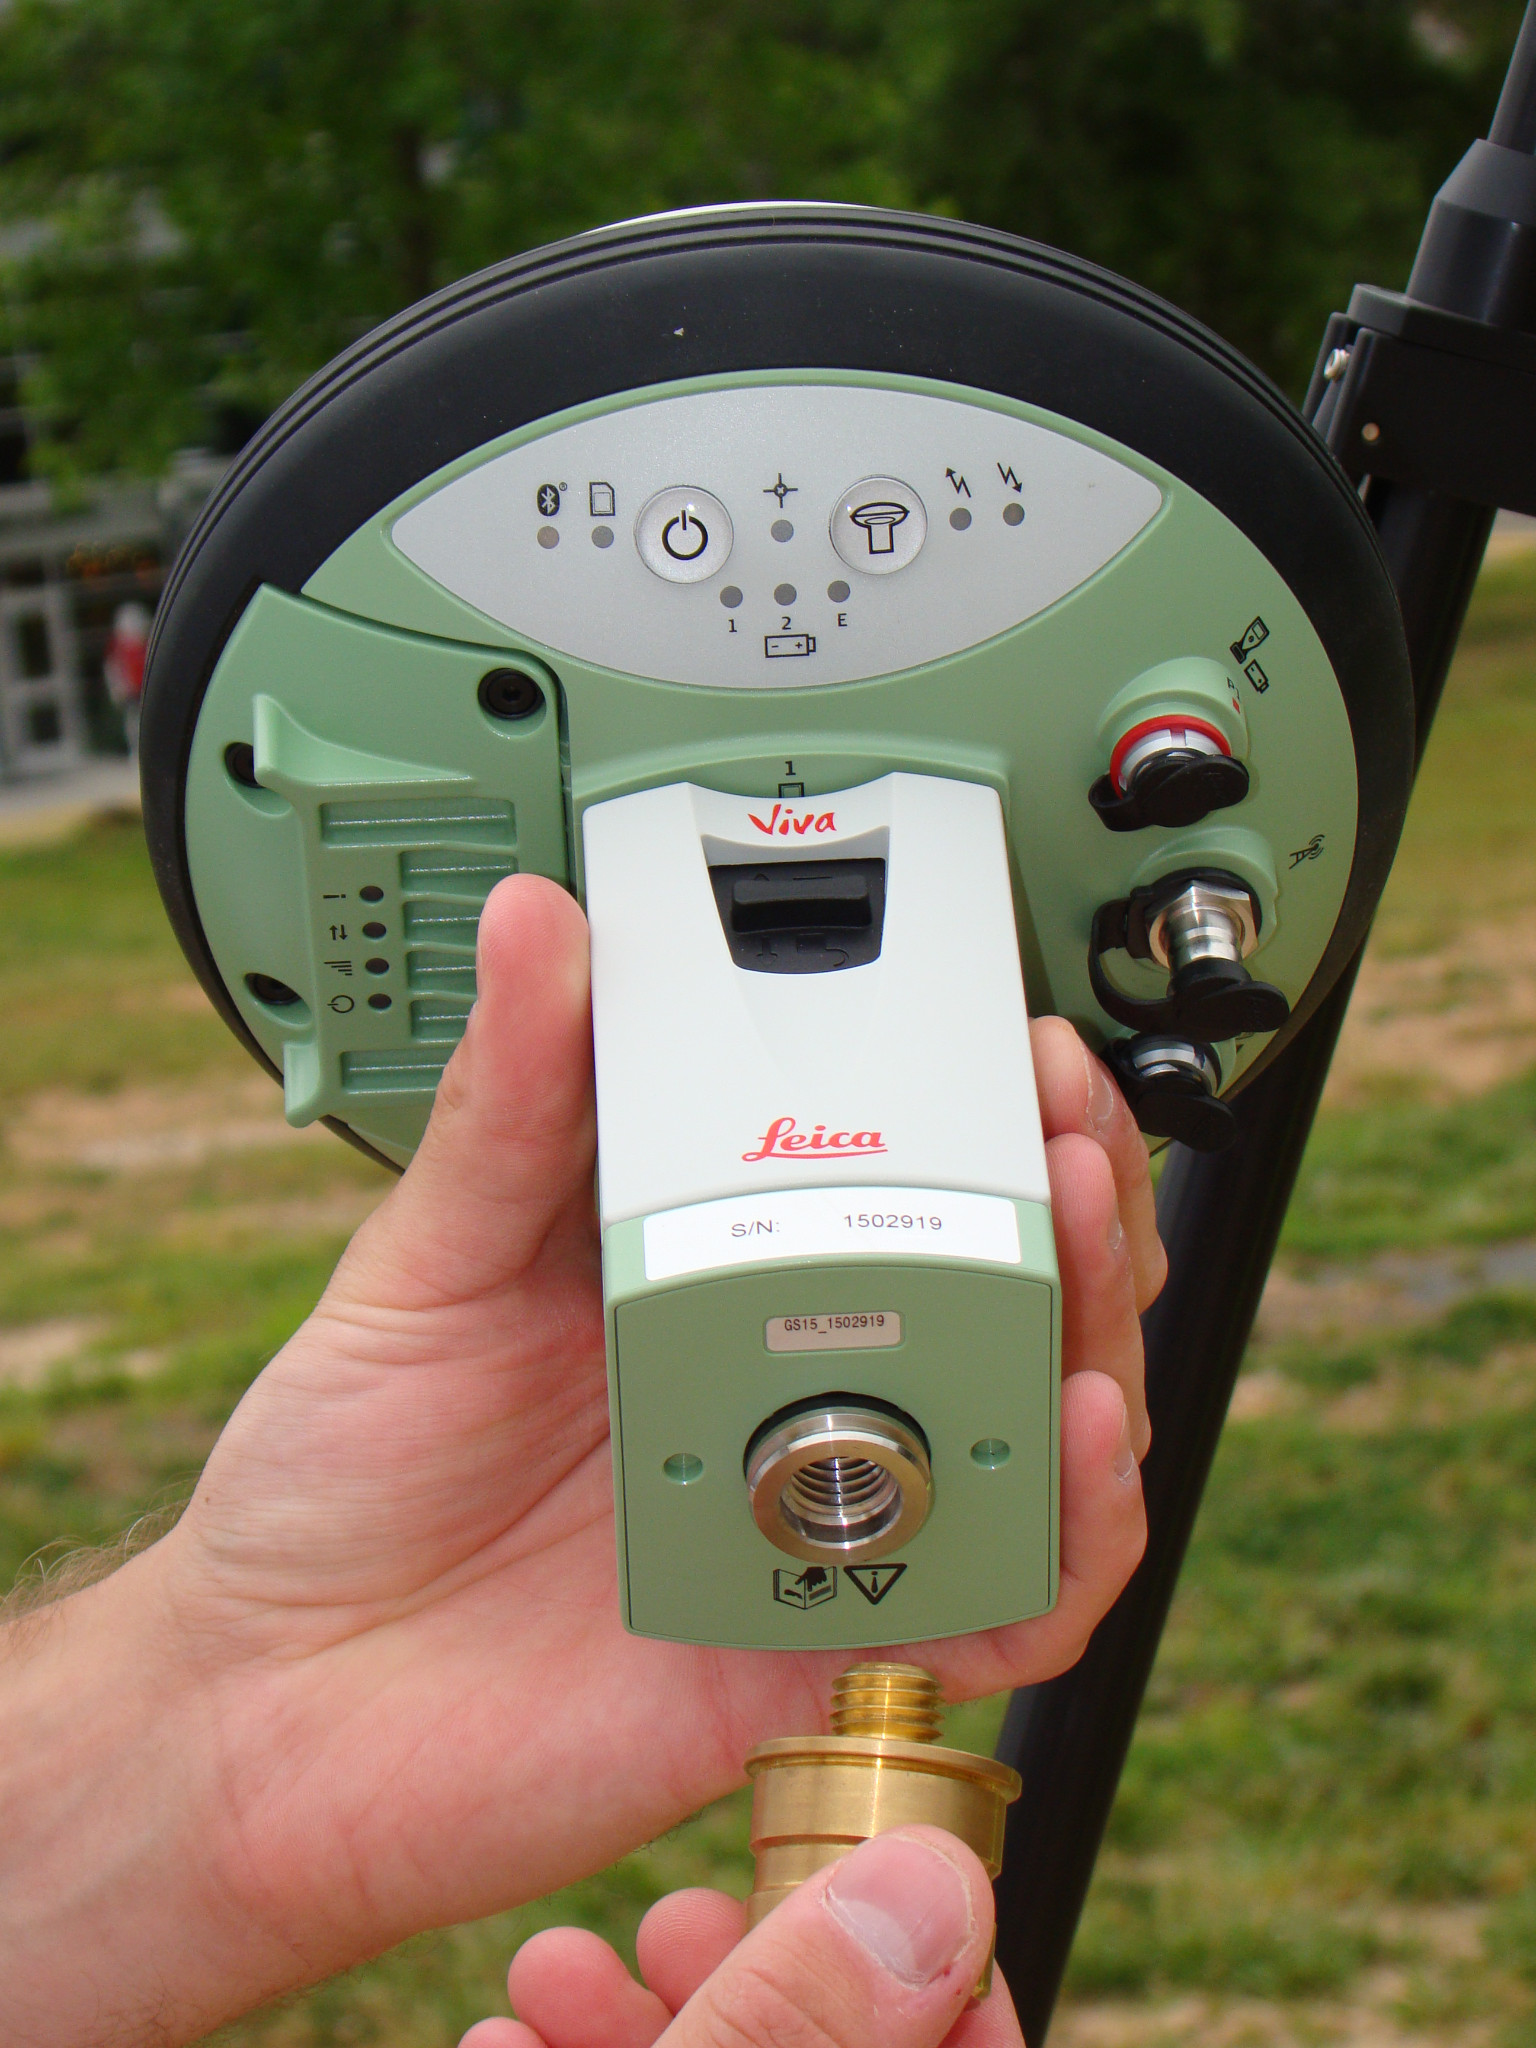
You will need a GS15 receiver, a brass tripod adapter, and one of the heavy duty, fixed height, yellow tripods.
[wptabtitle] Brass Adaptor[/wptabtitle]
[wptabcontent]
Screw the brass tripod adaptor into the base of the GS15.
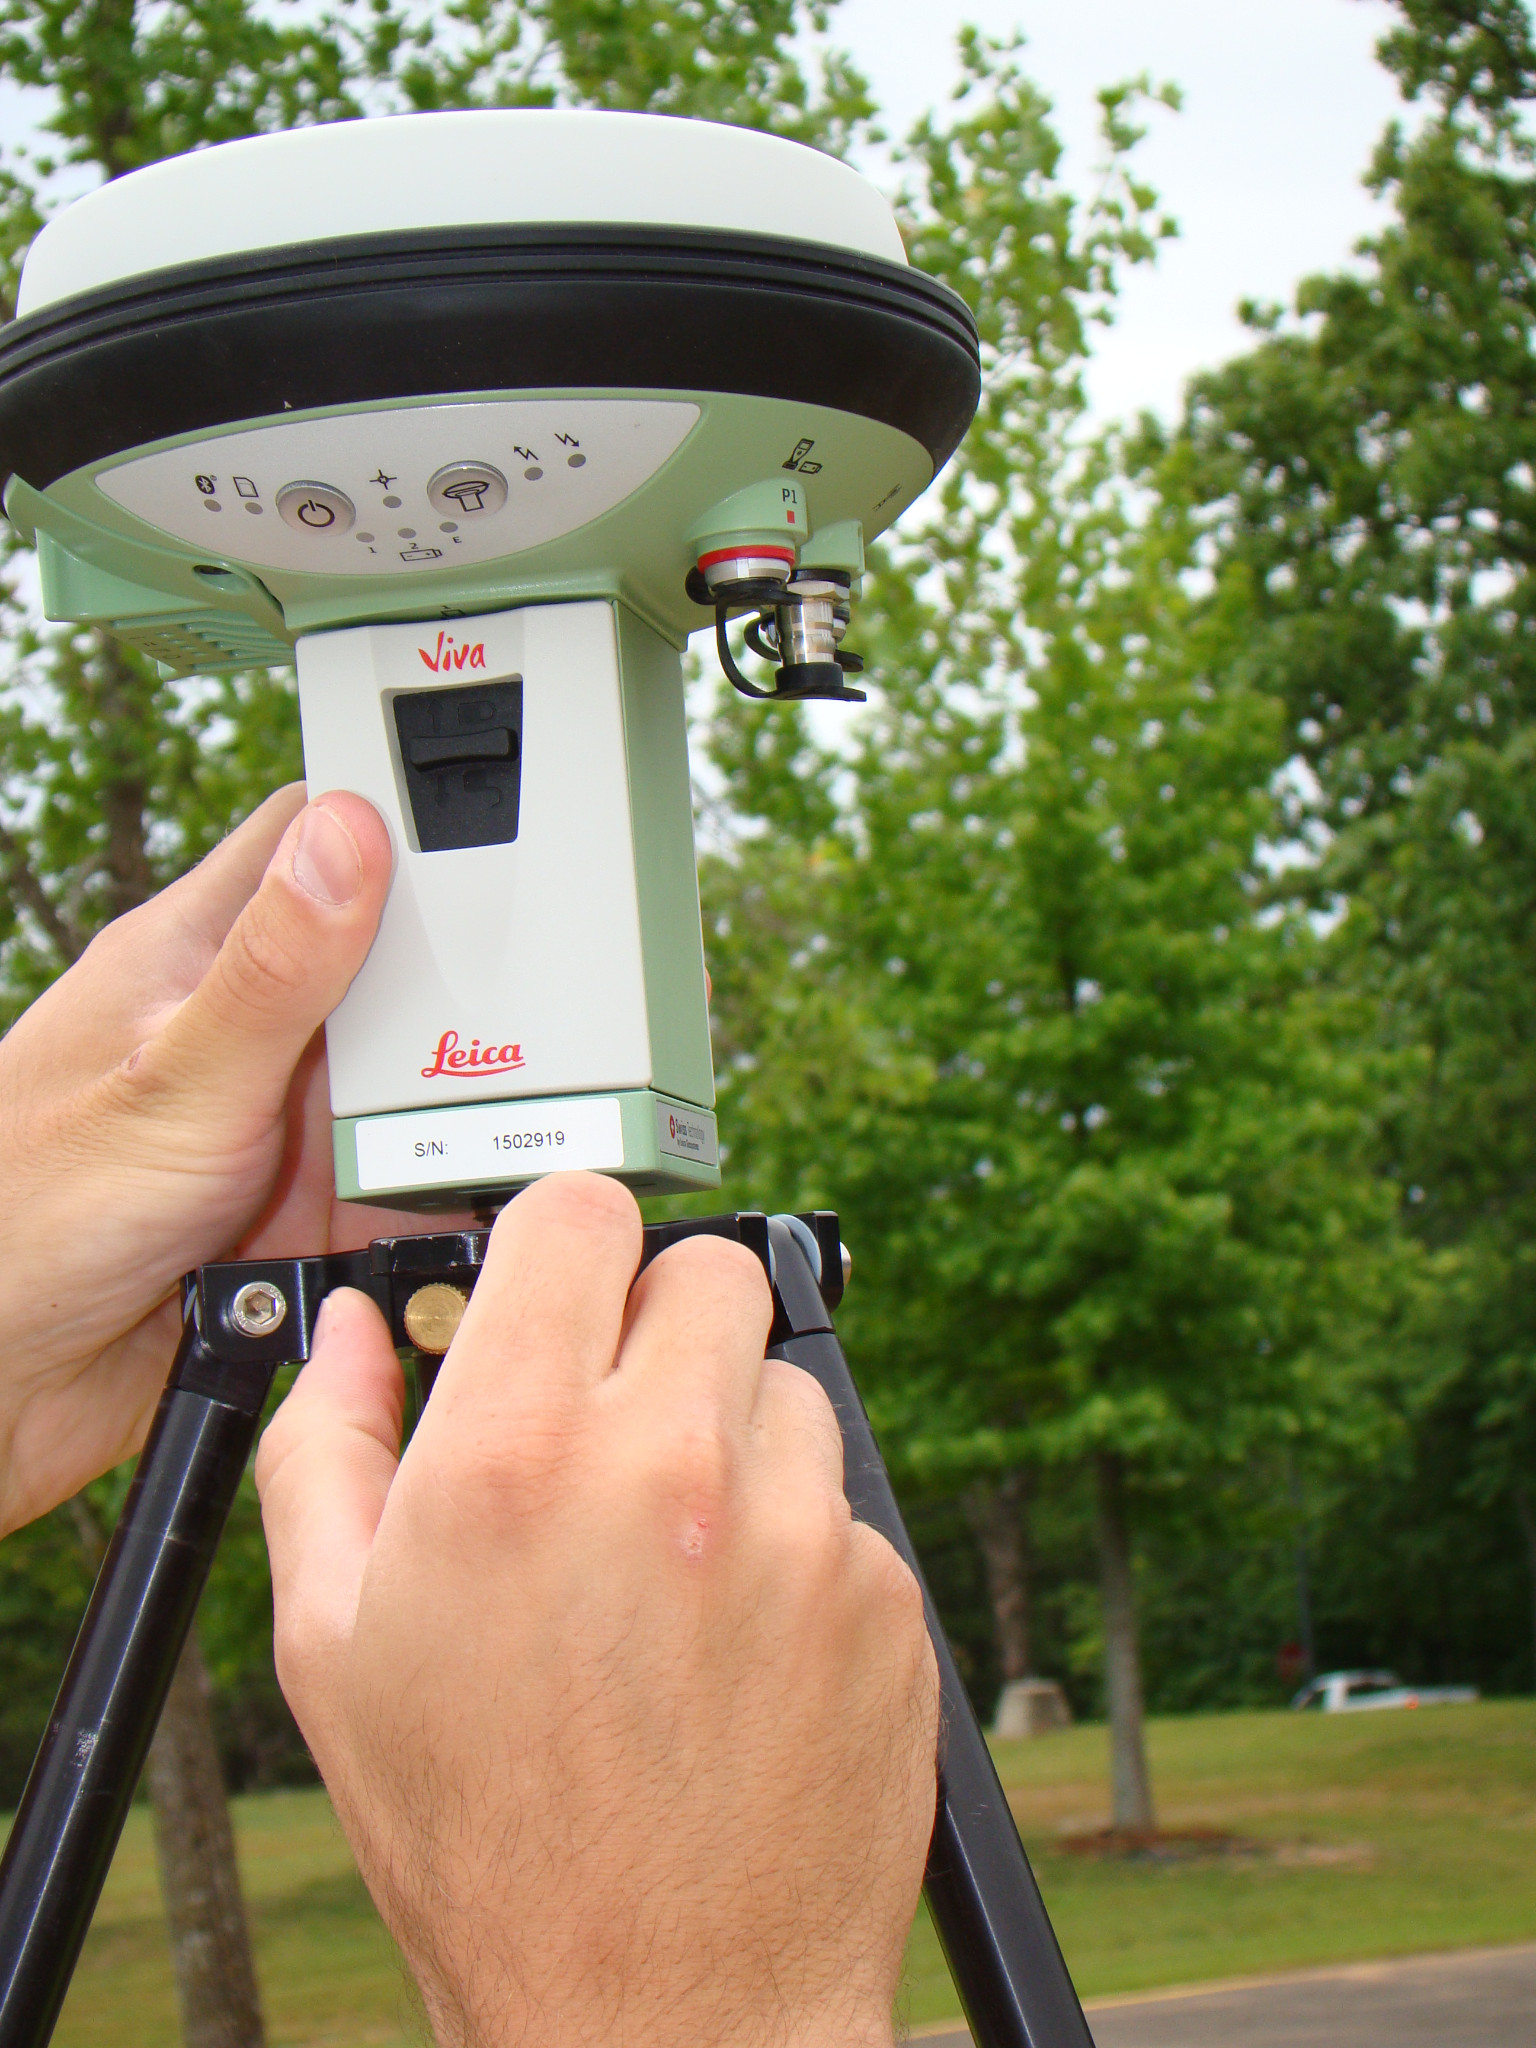
Stand the fixed-height tripod on its center tip, loosen the brass thumbscrew in the side of the top mounting plate, insert the brass adapter on the antenna into the mounting hole, and then tighten the thumbscrew.
[wptabtitle] Extend Center Leg[/wptabtitle]
[wptabcontent]
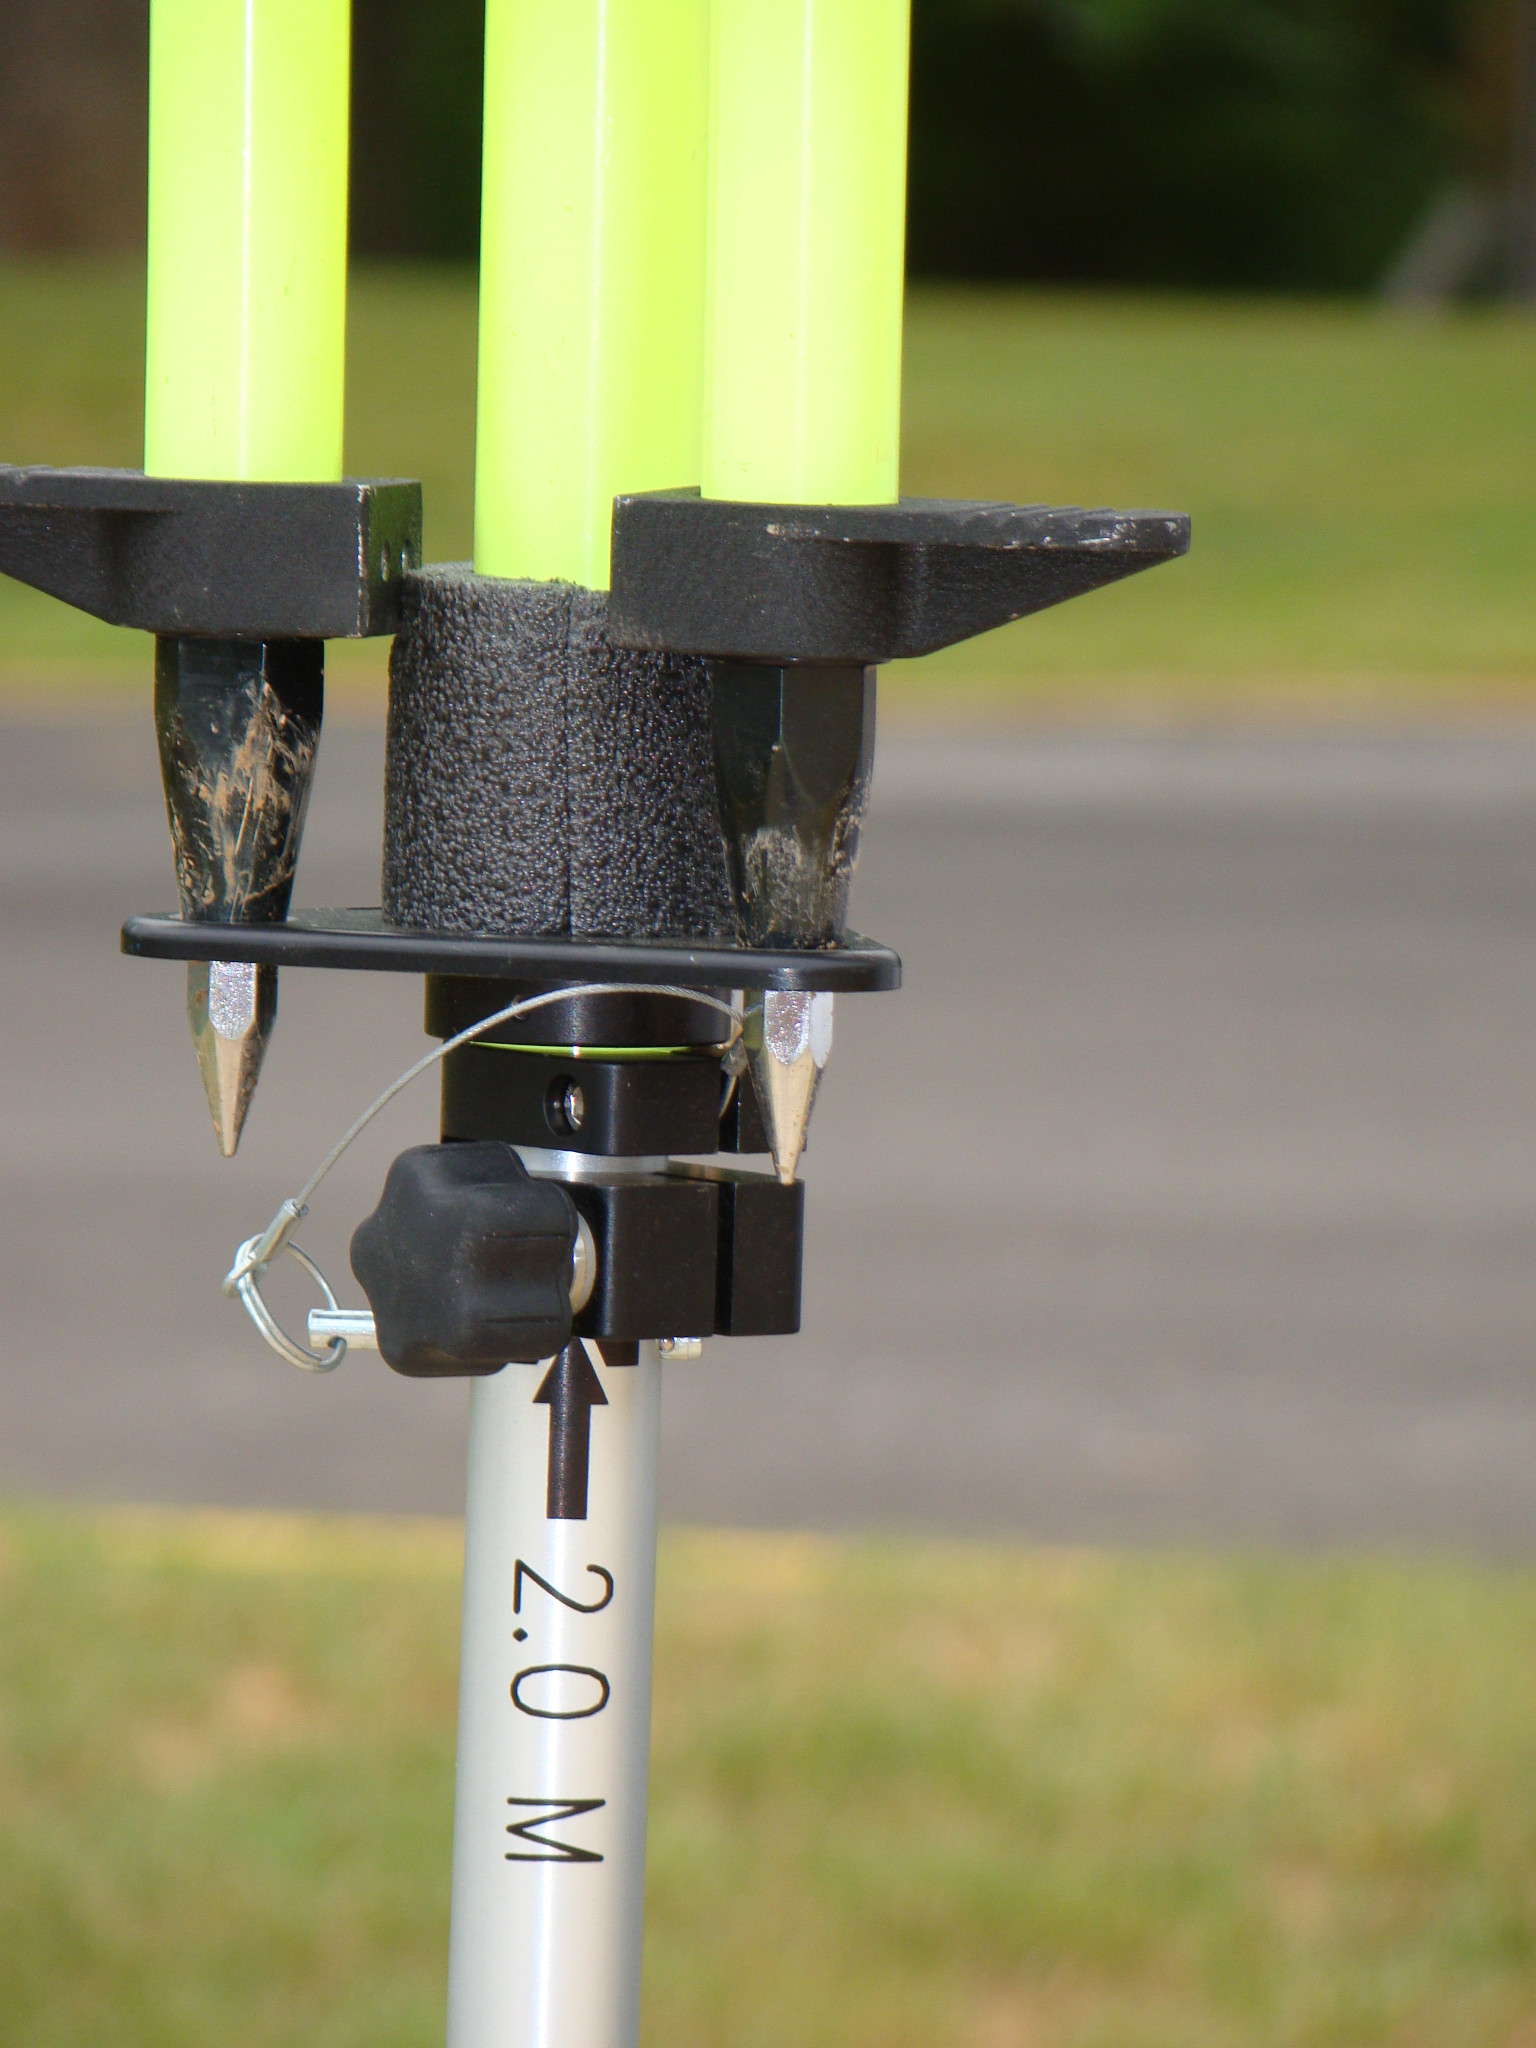
At the base of the tripod, flip the lever to release the center leg, and then extend it fully to the 2-meter mark.
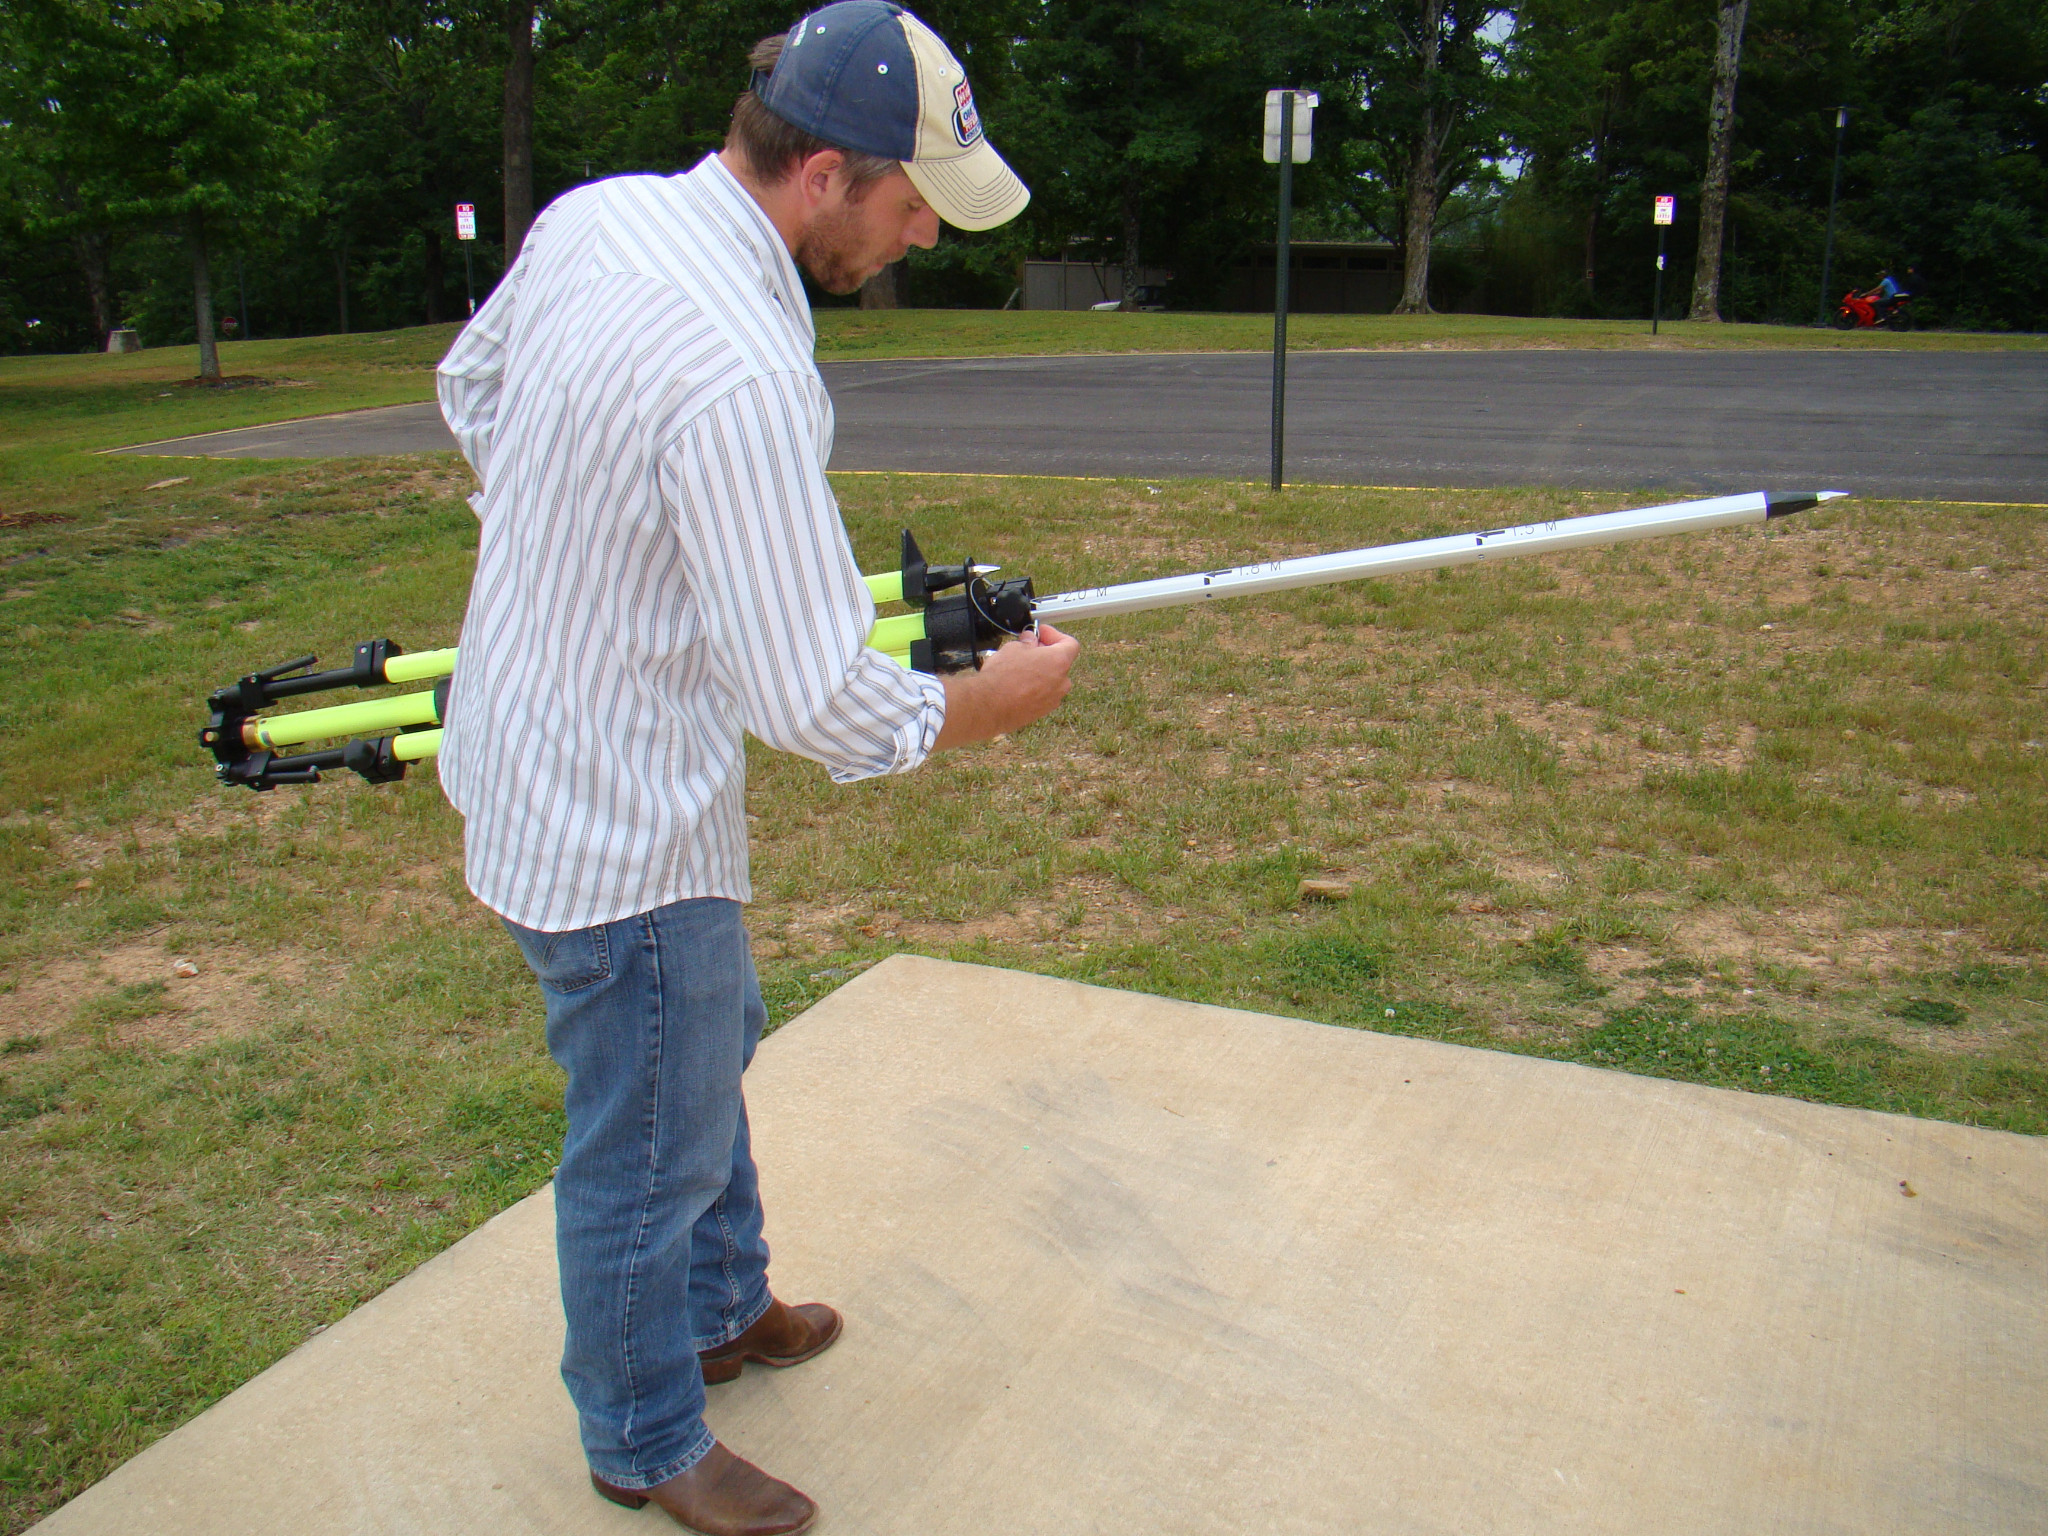
There is metal pin attached by a wire to the base of the tripod – insert the pin through the holes in the rod at the 2-meter mark, then put the weight of the tripod on to the center pole so that the pin is pushed firmly against the clamp body. Now flip the lever to lock the clamp.
[wptabtitle] Position Tripod[/wptabtitle]
[wptabcontent]
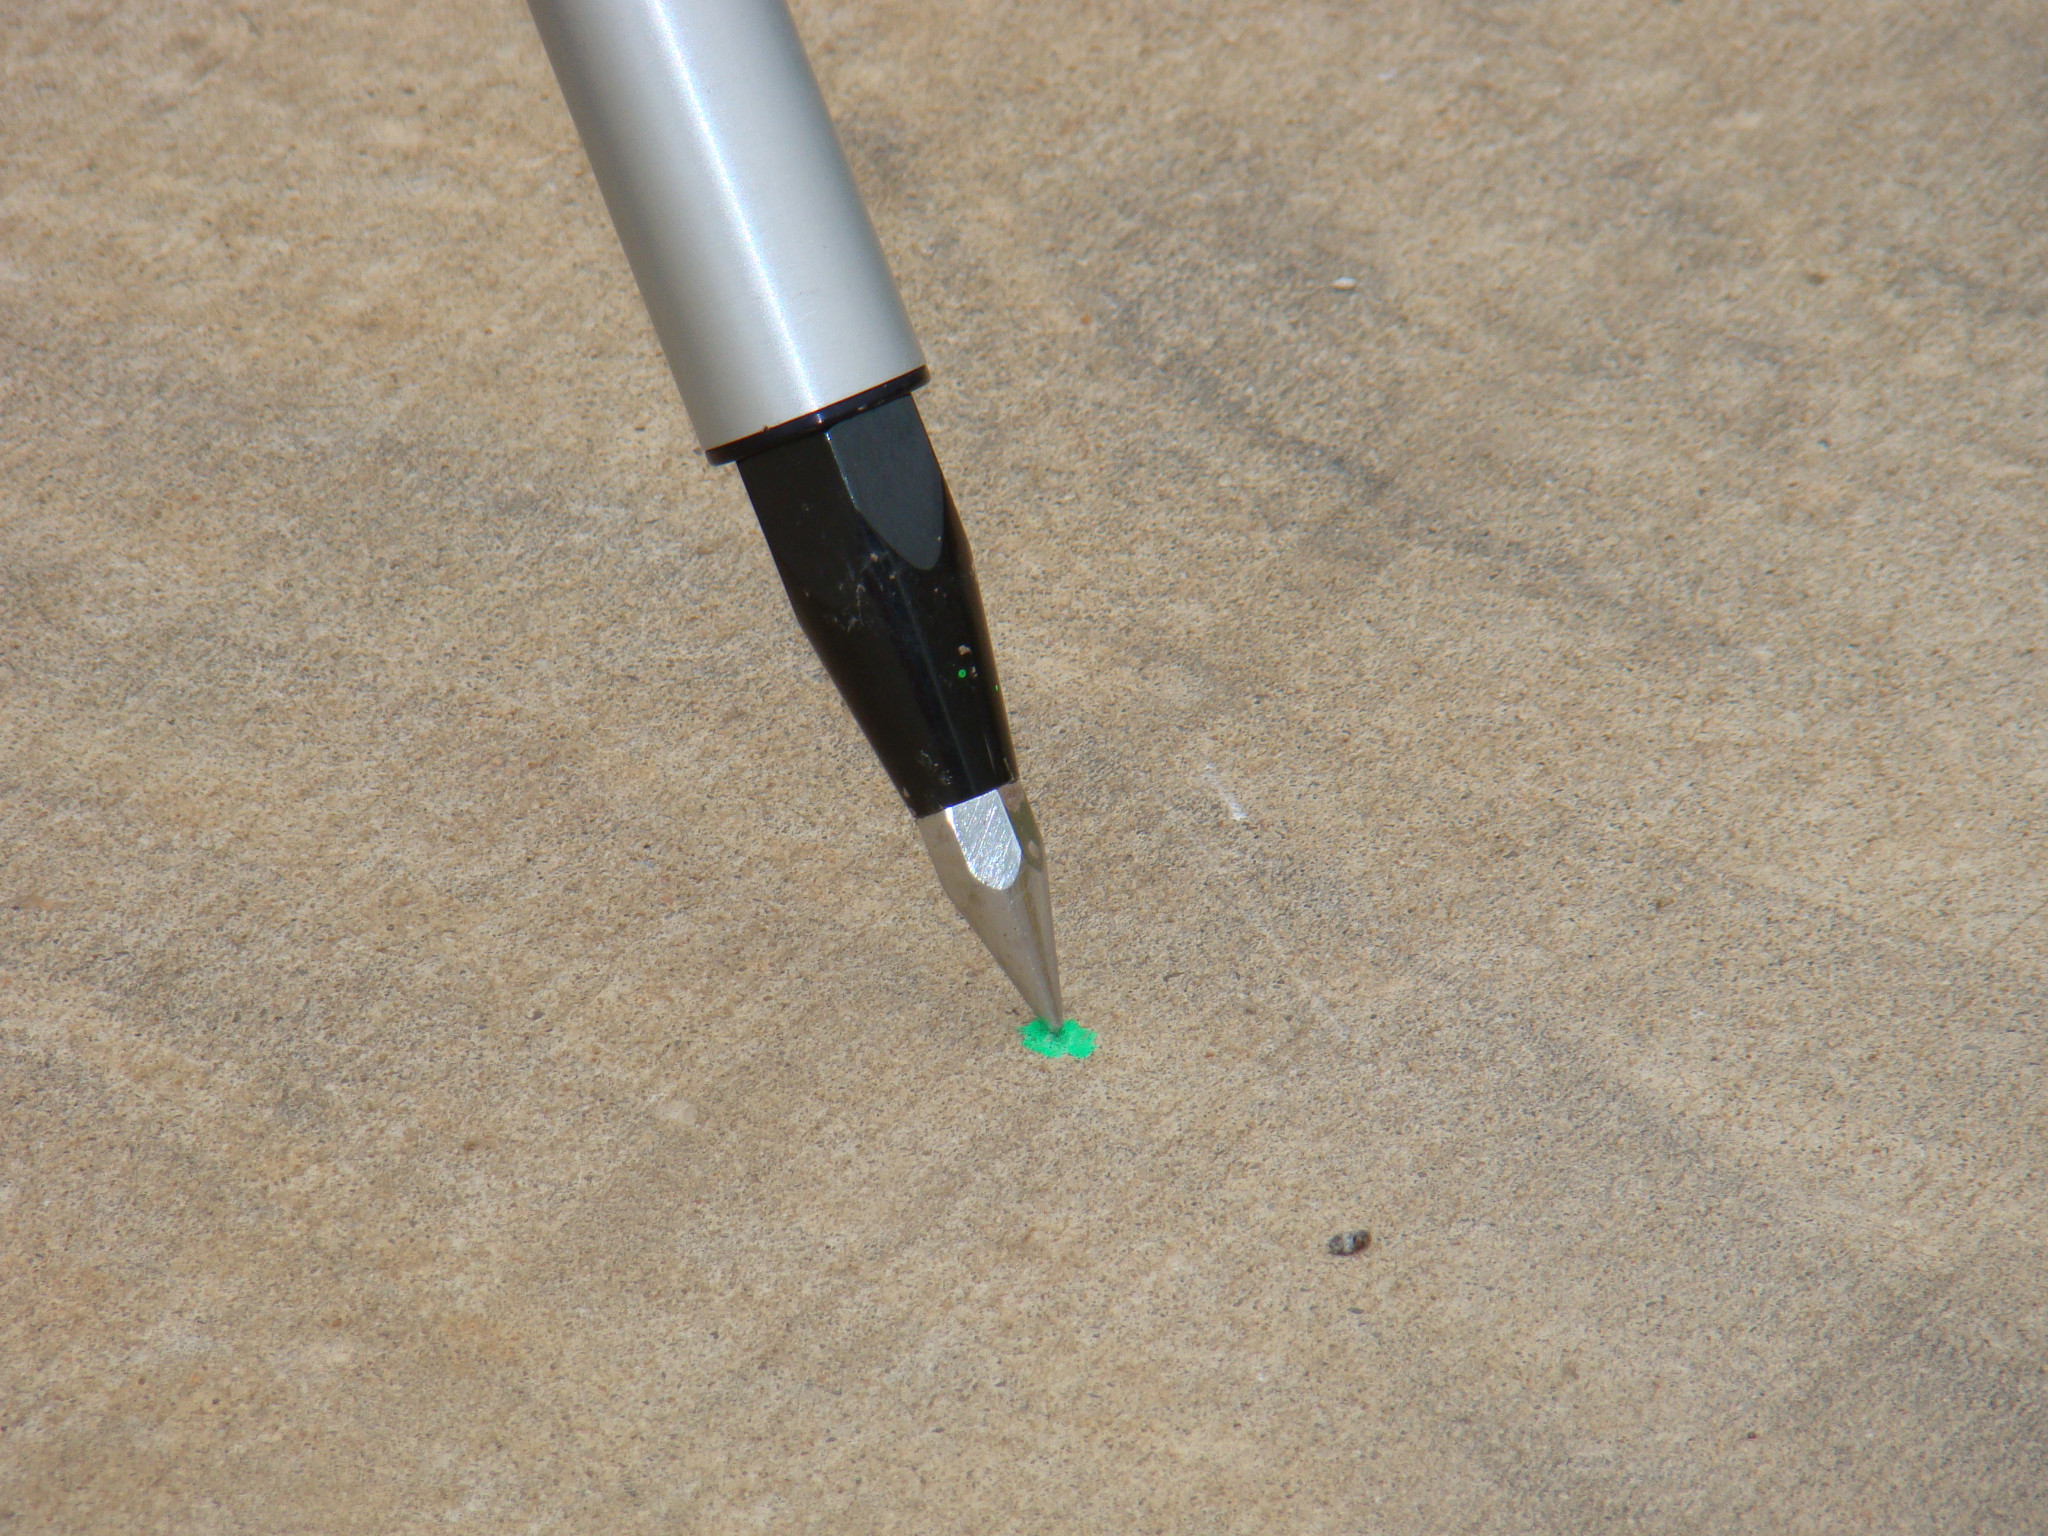
Carefully place the tip of the center pole at the exact spot on the ground that you wish to survey.
[wptabtitle] Release Tripod Legs[/wptabtitle]
[wptabcontent]
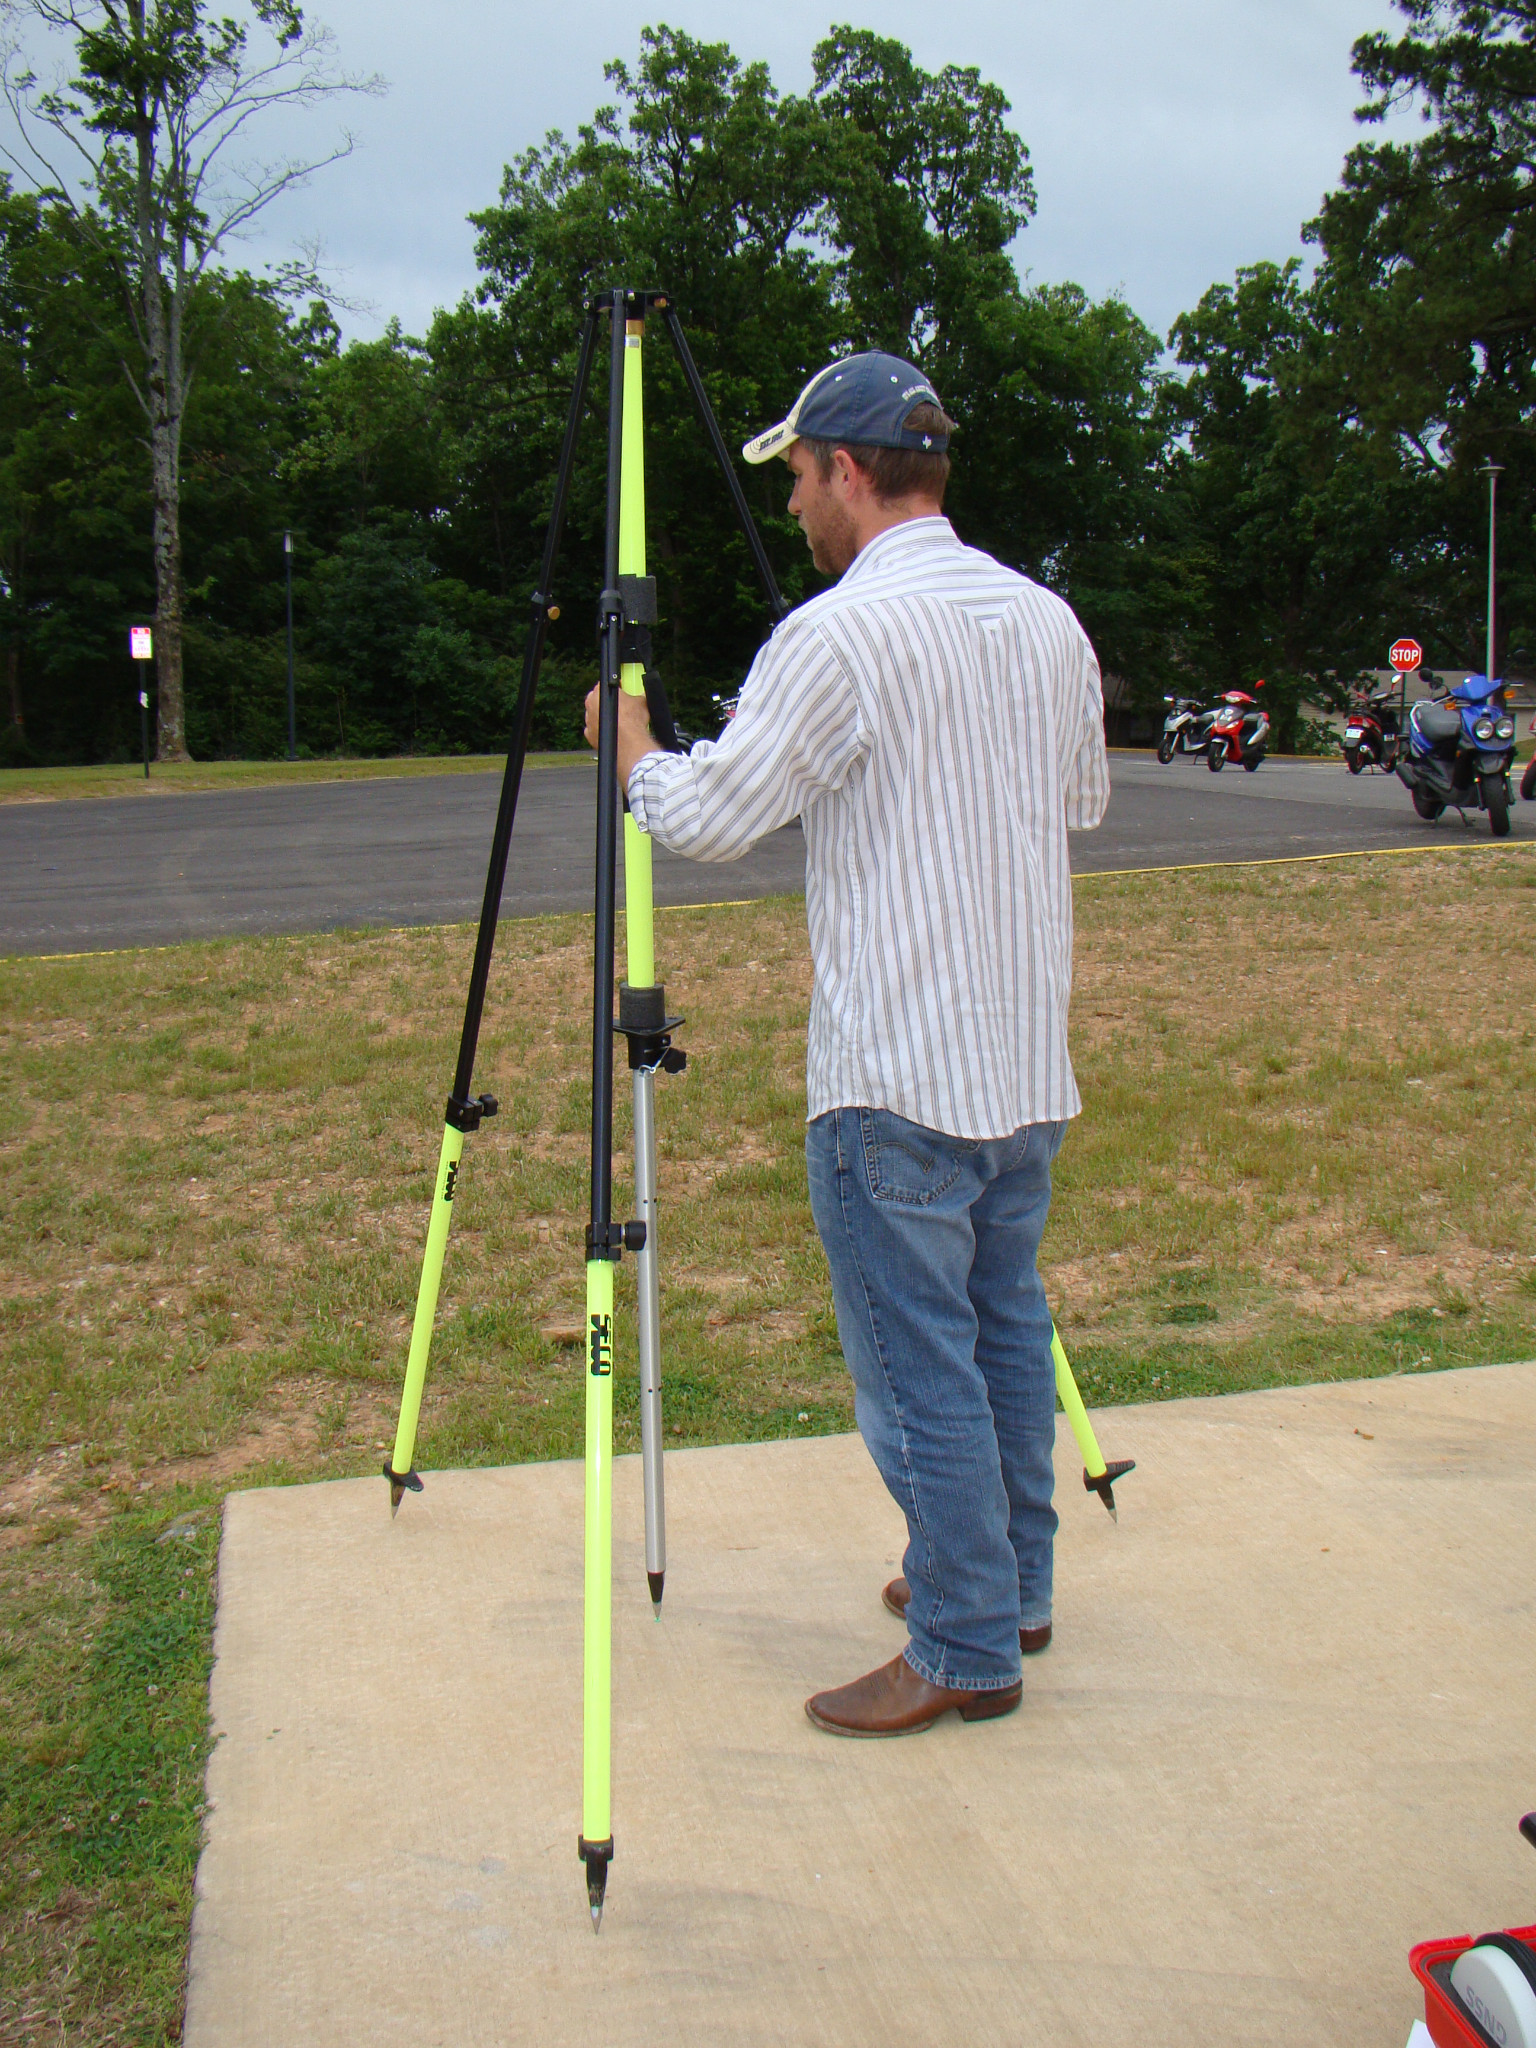
Two of the side legs have squeeze clamps at their upper end. To release them from the tripod base, squeeze the clamp and lift the leg up so that the tip clears the base. Angle the leg away from the tripod body and flip the lever to release the lower clamp on the leg. Extend the lower portion of the leg all the way, and then lock the clamp again.

[wptabtitle] Extend Legs[/wptabtitle]
[wptabcontent]
Finally, use the squeeze clamp to extend the leg all the way to the ground, forming a stable angle with the center pole. Repeat this operation with the second leg that also has a squeeze clamp.
[wptabtitle] Secure Legs[/wptabtitle]
[wptabcontent]
The third leg is different; instead of a squeeze clamp, it uses a thumb screw to tighten the upper section.

Loosen this thumbscrew, and then extend the leg and place its tip as you did on the other two legs. Be sure to leave the thumbscrew loose. At this time, if your are on soft ground, you should use your foot to push each of the three legs (not the center pole) into the ground.
[wptabtitle] Level Tripod[/wptabtitle]
[wptabcontent]
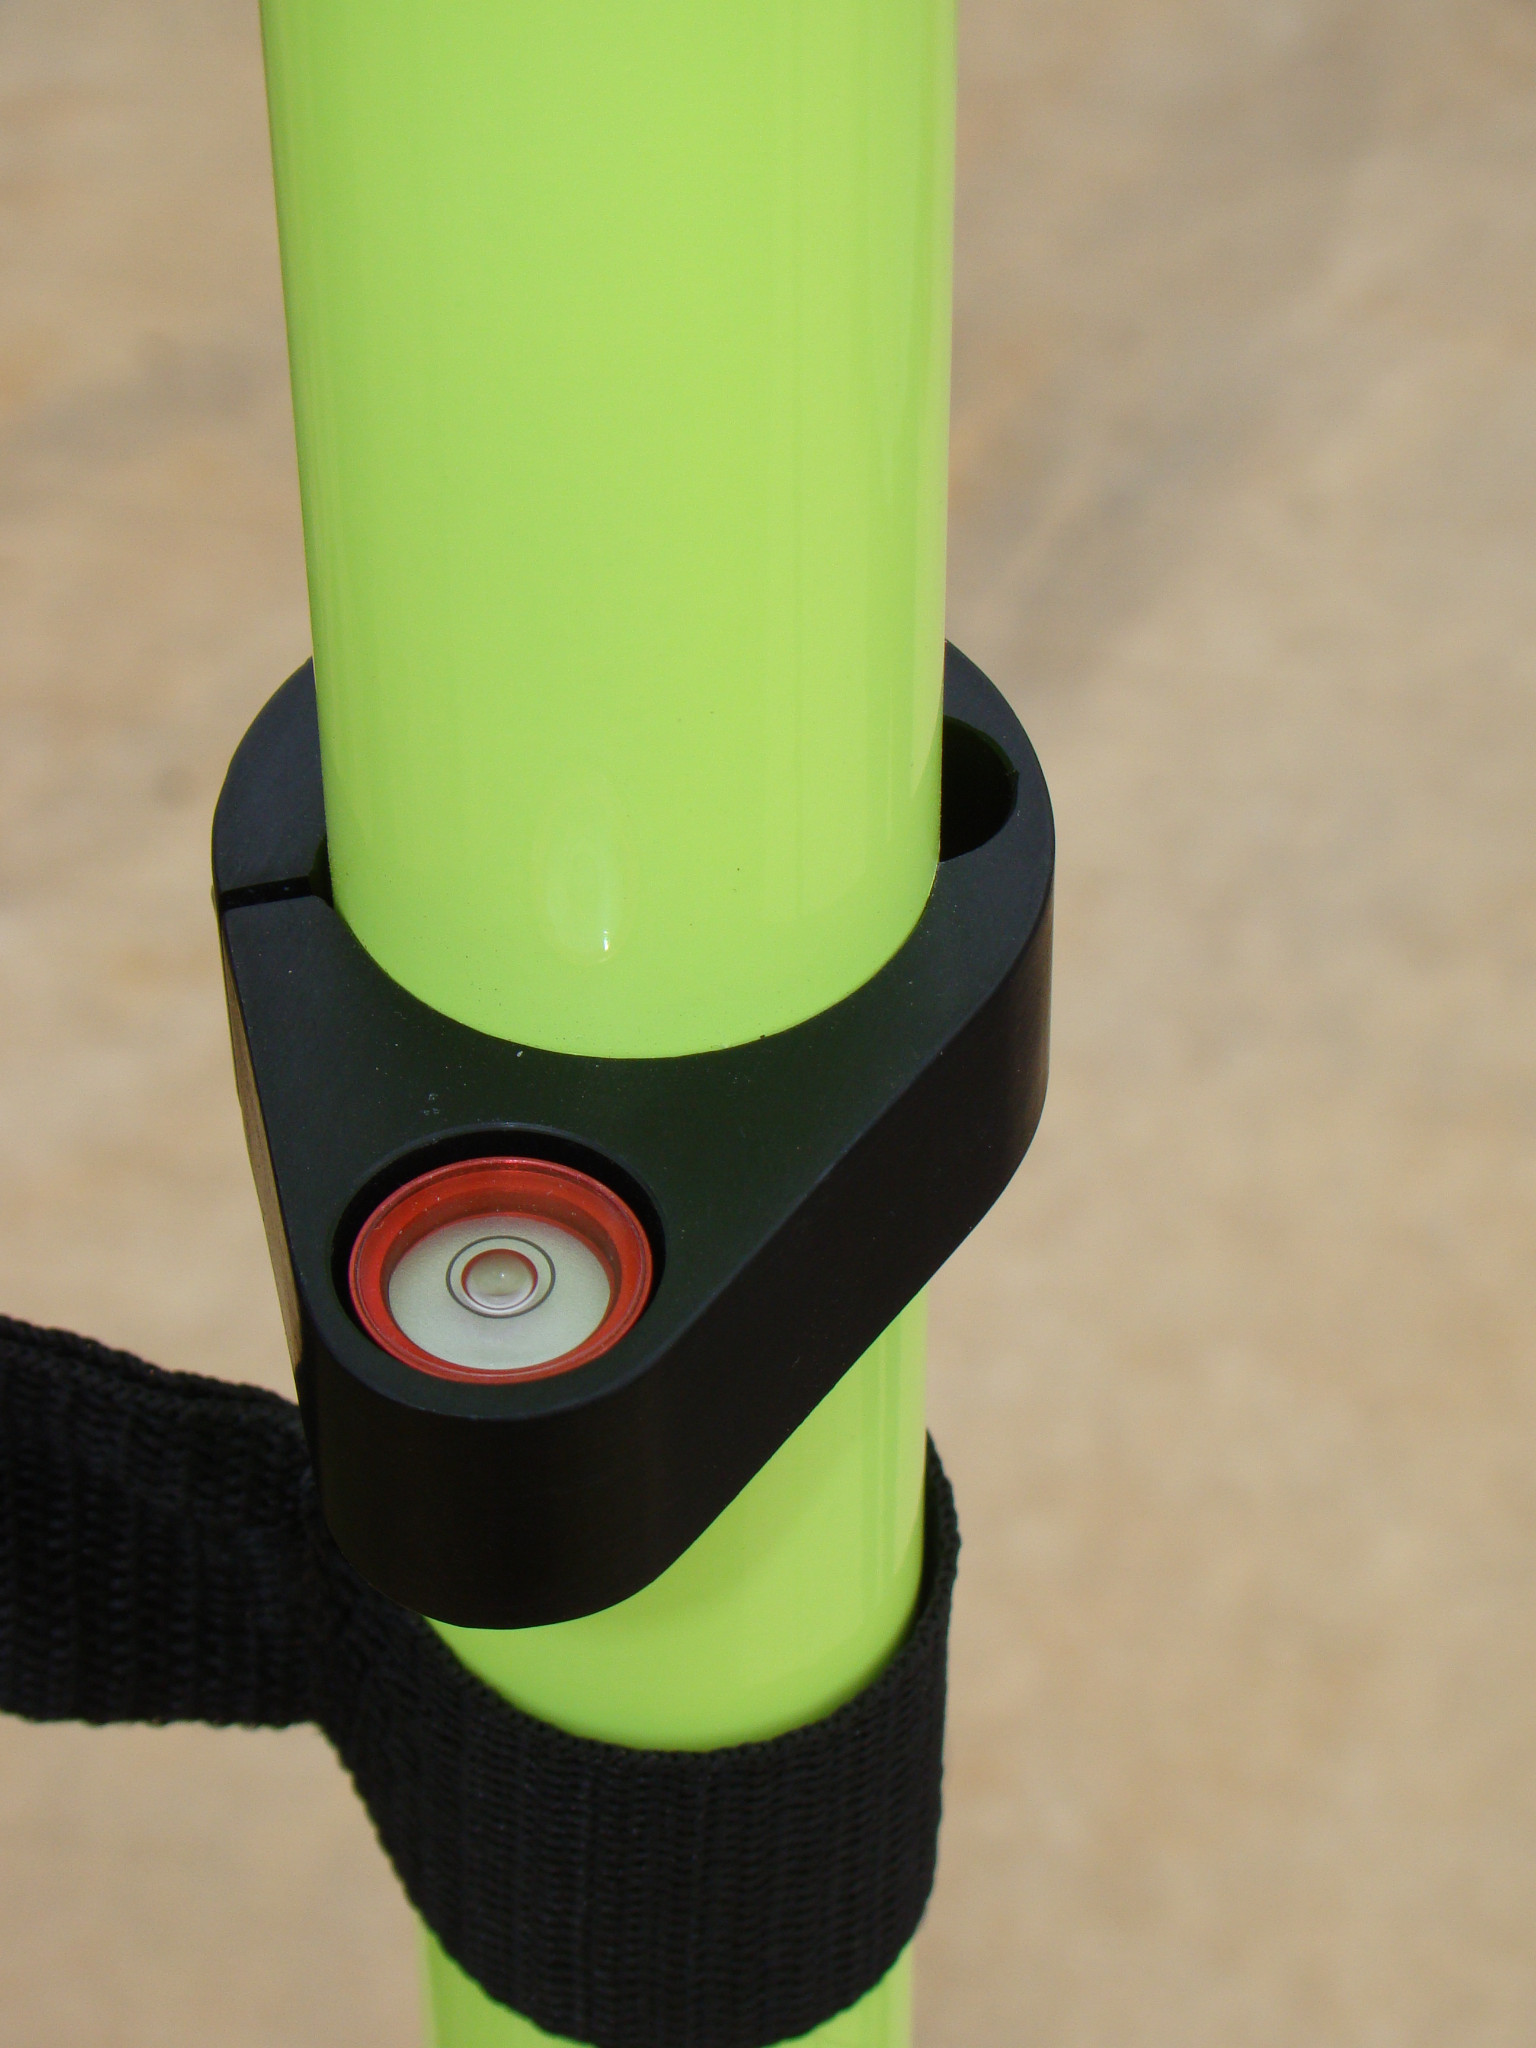
The tripod must be completely level to get an accurate measurement. Locate the bubble level mounted on the side of the tripod. Place a hand on each of the squeeze clamps, squeeze them to release their lock, and very carefully push or pull to align the air bubble in the level within the inner marked circle.
When you have the tripod level, release both of the squeeze clamps, and check your level again. If it is still level, lock the thumbscrew on the third leg and you are finished with the tripod.
[/wptabs]