These tutorials will show you how to digitize archaeological features from terrestrial scan data.
Hint: You can click on any image to see a larger version.
[wptabs style=”wpui-alma” mode=”vertical”][wptabtitle] THE 3D MESH SKETCH TOOLBAR[/wptabtitle] [wptabcontent]Select the 3D Mesh Sketch toolbar.
Fig. 23: The 3D Mesh Sketch Menu.
And then select the “Pencil” tool
Fig. 24: The Pencil button.[/wptabcontent]
[wptabtitle] TOGGLE BETWEEN NAVIGATION AND DRAWING[/wptabtitle] [wptabcontent]Click the center mouse button to toggle between Navigation and the Pencil tool. ![]()
[/wptabcontent]
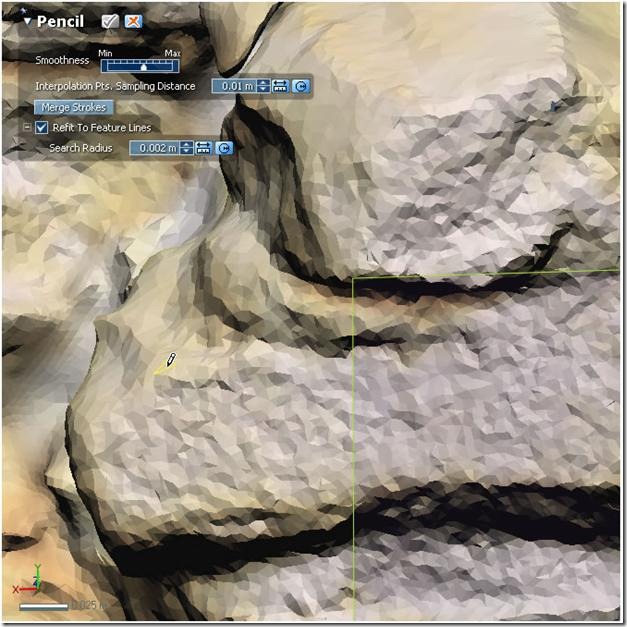
[wptabtitle] DRAWING WITH THE PENCIL TOOL[/wptabtitle] [wptabcontent]Zoom in and navigate so that you can clearly see the polyfaces where you wish to place a boundary. The selected polyface will be highlighted in yellow.
Fig. 26: Drawing with the pencil tool.
Think carefully about whether you want to place boundaries on ‘top’ of an edge, in ‘front’ of an edge or on the edge itself. [/wptabcontent]
[wptabtitle] WILD LOOPS![/wptabtitle] [wptabcontent]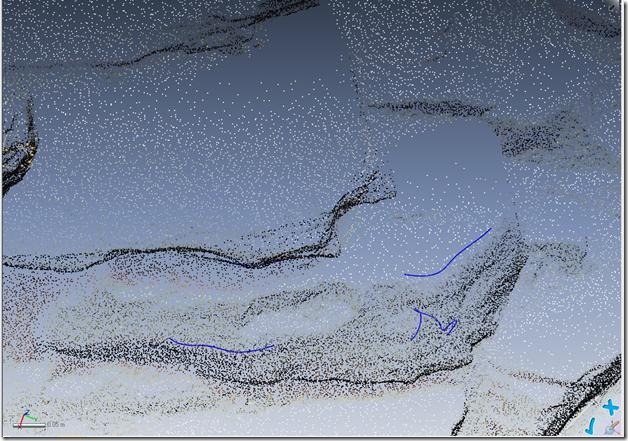
Fig. 27: Pencil tool errors include the creation of undesired loops in polylines.
Be aware of holes remaining in the mesh. Drawing across a hole in the mesh with the pencil tool will result in a ‘wild loop’ where the polyline falls through the hole. [/wptabcontent]
[wptabtitle] DRAGGING POLYLINE VERTICES[/wptabtitle] [wptabcontent]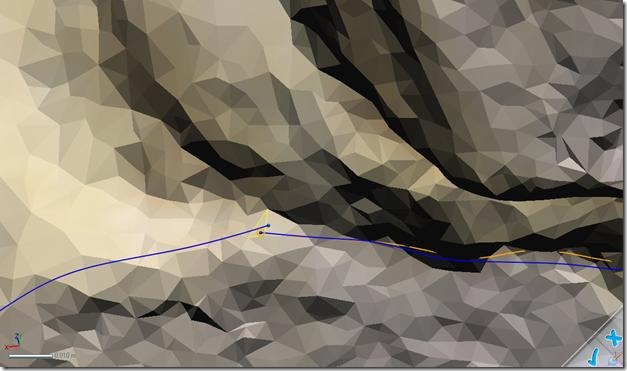
Fig. 28: Dragging polyine vertices.
When you have completed drawing a polyline surrounding a ‘closed’ shape, you may need to drag one of the endpoints to snap to the start of the polyline. Select the endpoint by left clicking on it and drag until the target point is highlighted.[/wptabcontent]
[wptabtitle] CHECK YOUR POLYLINES[/wptabtitle] [wptabcontent]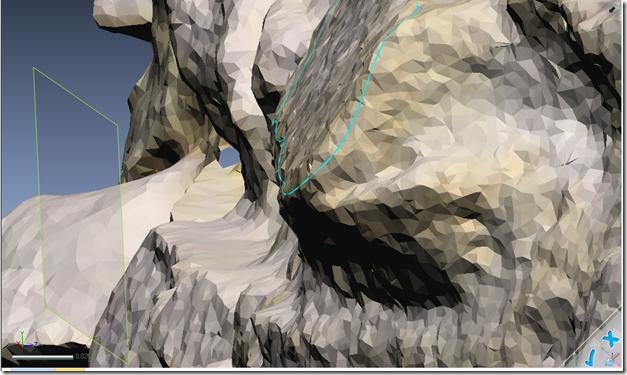
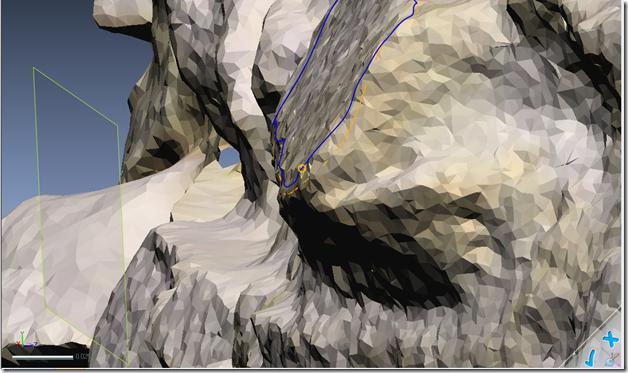
Fig. 29: Checking a polyline-mesh alignment.
Check your polyline from multiple viewpoints to make sure it intersects the desired polyfaces in the mesh.[/wptabcontent]
[wptabtitle] ADJUST YOUR POLYLINES[/wptabtitle] [wptabcontent]You can alter the polyline by selecting individual nodes and dragging along the mesh.
Fig. 30: Adjusting a polyline to match the mesh.
n.b. Be aware that when you drag the endpoint, or any vertex, on a polyline, you alter the shape of the entire line, and slightly shift all the vertices. Be sure to check that the overall placement of the polyline is satisfactory after making adjustments to any given vertex.[/wptabcontent]
[wptabtitle] Continue to the Spline Tool[/wptabtitle] [wptabcontent]In some cases using the pencil tool is not convenient. Cases include places where there are unhealed holes in the mesh and places where individual points need to be places in close proximity to one another in an irregular pattern. Any drawing will likely involve both the pencil and spline tools.
Continue to the Drawing with the Spline Tool.
[/wptabcontent][/wptabs]


