[wptabs style=”wpui-alma” mode=”vertical”] [wptabtitle] Getting Started[/wptabtitle] [wptabcontent]
- Open ArcScene
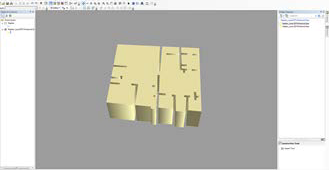
- Add your polygon data from shapefile, geodatabase, or SDE connection
- “Right Click” on the layer in the Table of Contents ->
“Select” = ‘Properties…’ (very last option)
[/wptabcontent]
[wptabtitle] Extruding Features[/wptabtitle] [wptabcontent]
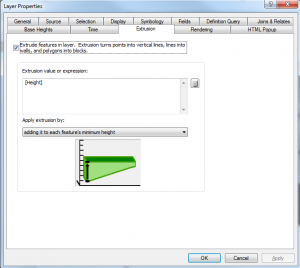
- “Select” ‘Extrusion’ tab on the Layer Properties
Menu - Check the box and then either extrude feature by a
set value or pre-determined expression. (You can also select and/or construct attribute expressions using the ‘Expression Builder’ button) - Visually inspect extruded features in the Dataframe
and ensure they look to be correct.
[/wptabcontent]
[wptabtitle] Convert to feature class[/wptabtitle] [wptabcontent]
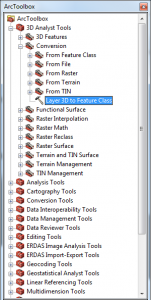
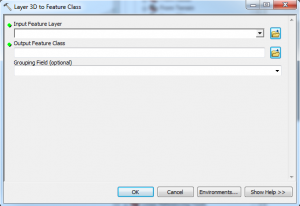
- In ArcToolbox > 3D Analyst Tools > Conversion >
“Layer 3D to Feature Class” is the tool we will use to
convert the extruded features to a ‘Multipatch’ feature class. - Input the corresponding Feature layer to be converted into a Multipatch, put it in a familiar directory for output.
[/wptabcontent]
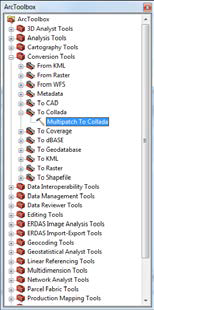
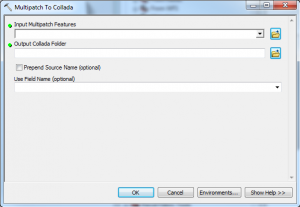
[wptabtitle] Convert to Collada[/wptabtitle] [wptabcontent]Again in the ArcToolbox > Conversion > To Collada > ‘Multipatch to Collada’ tool is what we will use to output a file in a format Google Sketchup® will recognize.
[/wptabcontent]
[wptabtitle] Import to Sketchup[/wptabtitle] [wptabcontent]
- Open Google Sketchup® and choose a template that is in the same units as your projection in ArcScene (i.e. meters, Feet and Inches, etc.)
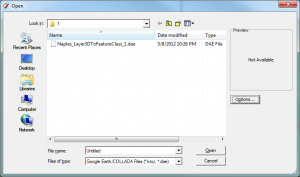
- In Sketchup > File > Import…
- Navigate to where you just exported the Collada file from ArcScene and make sure your file type is COLLADA in the drop down menu
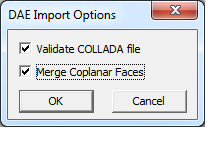
- “Select” > Options…
- Here you will want to decide if you want to merge coplanar faces – typically for texturing the outsides of builds you do want to merge
[/wptabcontent]
[wptabtitle] Rendering tasks[/wptabtitle] [wptabcontent]Perform all necessary rendering tasks. Be sure to group all elements before saving.[/wptabcontent]
[wptabtitle] Returning to ArcScene[/wptabtitle] [wptabcontent]Getting the model back into ArcScene is almost the exact opposite first we want to export our finished model in Sketchup by “Selecting” File > Export > 3D Model
- Name the File something relevant and save it in a familiar directory as a COLLADA .dae file
- Add an empty or populated multipatch feature class into ArcScene or ArcGlobe.
- Begin a 3D edit session by clicking the 3D Editor drop-down and click “Start Editing”.
- Click the Edit Placement tool on the 3D Editor toolbar.
- Click the multipatch feature in the Create Features window.
- The Insert tool will appear in the Construction Tools window.
- Select the Insert tool under Construction Tools.
- Click the desired location of the multipatch model in the 3D view.
- When prompted, navigate to the location of the supported 3D model file on disk.
- Select the model and click Open.
***Note you will add the same model over and over again with ever click until you deselect the “Insert Tool”[/wptabcontent]
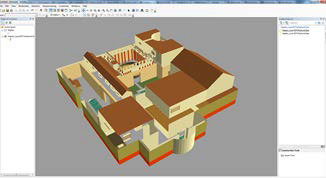
[wptabtitle] The Result[/wptabtitle] [wptabcontent]By following these steps you can bring your model back and forth between the two programs.
[/wptabcontent]
[/wptabs]
