This series will show you how to create 3d models from photographs using Agisoft Photoscan.
Hint: You can click on any image to see a larger version.
Photoscan will guide you through a series of steps to create a 3D model from a collection of photographs. Sometimes your photos are not perfect; objects are present that you do not want to have in the final model, or there is a lot of empty foreground in some of the images. In these cases masking unwanted areas of the photos is an important part of the project. This post shows you how to mask images for use in a Photoscan project.
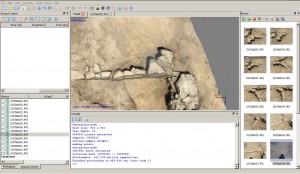
[wptabs mode=”vertical”] [wptabtitle] Important Buttons and Menus in Photoscan[/wptabtitle] [wptabcontent]Photoscan gives you access to a number of menus. On the left hand side of the screen is the project tree, which lists photos included in the project. At the bottom of the screen you will find the console, which shows information on the commands being executed. Here you will also find buttons to save the console output to a log file. On the right hand side of the screen you will find thumbnails of the photos which belong to the project. Access to the main menu and shortcut buttons are along the top of the screen. The central window shows the model itself.
[/wptabcontent]
[wptabtitle] Start a Photoscan Project[/wptabtitle] [wptabcontent]You will always start a new photoscan project by adding photographs. If you are working with a relatively small number of photos you can add them all at once. Go to ‘Workflow’ and then ‘Add Photos’ in the main menu. [/wptabcontent]
[wptabtitle]The Masking Toolbar[/wptabtitle]
[wptabcontent]Double click on the thumbnail of a photo in the right-hand menu. When the photo opens you will have access to a new set of tools in the top menu. The tools all allow you to interactively select parts of the photo and add them to or subtract them from the mask.
![]() [/wptabcontent]
[/wptabcontent]
[wptabtitle]Create a Mask[/wptabtitle]
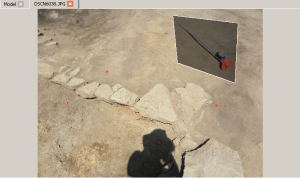
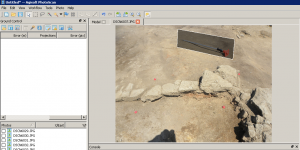
[wptabcontent]Simply select the undesired parts of each photo and add them to the mask. Masks will save automatically within the project. It is also possible to create masks in Adobe Photoshop, in the alpha channel of the image, and to import them into Photscan by selecting ‘Tools’ and ‘Import Mask’. In this case, a surveying rod has been left in the area, and we would like to exclude it from the model, so we mask it out.
[/wptabcontent]
[wptabtitle]Align Images[/wptabtitle]
[wptabcontent]From the main menu, select ‘Workflow’ and ‘Align Images’. You will now see that the option to ‘constrain by match’ is checked.
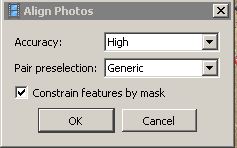 [/wptabcontent]
[wptabtitle]Build Geometry[/wptabtitle]
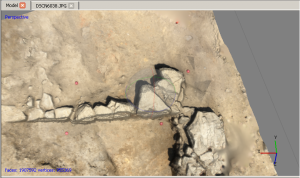
[wptabcontent]Once the alignment has been calculated, select ‘Workflow’ and ‘Build Geometry’ from the main menu. Objects hidden by the mask should not appear in the final model. In this example the surveying rod is seamlessly removed from the final model.
[/wptabcontent]
[/wptabs]
