This workflow will show you how to start a scan using the Leica C10 Laser Scanner.
Hint: You can click on any image to see a larger version.
[wptabs style=”wpui-alma” mode=”vertical”] [wptabtitle] START SCANNING![/wptabtitle]
[wptabcontent]First, choose a field of view and resolution appropriate for your project.
If you are interested in collecting scan data and RGB/images, hit ‘Sc+Img.’
If you are only interested in collecting scan data, hit ‘Scan’ instead. You will now see the progress bar on the side of the instrument.
Once finished the scanner will return to this dialogue.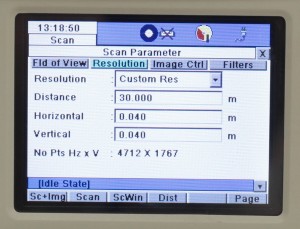
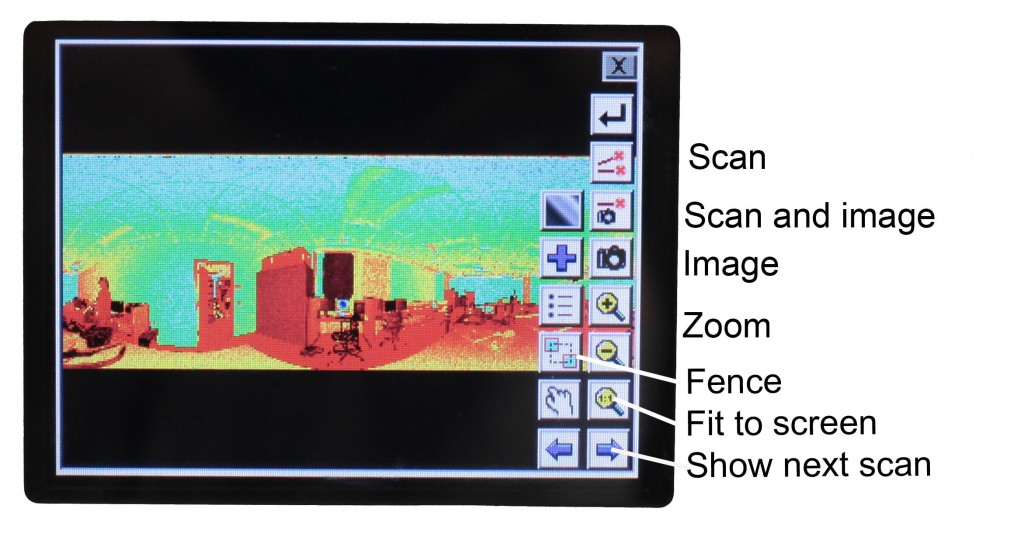
Hit ‘ScWin’ to view the collected scan-data.
[/wptabcontent]
[wptabtitle] PREVIEW THE SCAN DATA[/wptabtitle]
[wptabcontent] Here you can see the scan data – click the ‘x’ to return to the previous menu.
[wptabtitle] CREATE A TARGET IN THE SCENE[/wptabtitle]
[wptabcontent] Click the button highlighted to go to the sub-menu. Click ‘Target’.
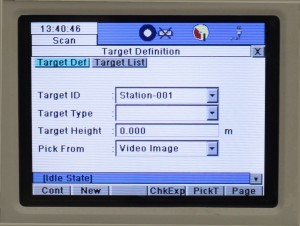
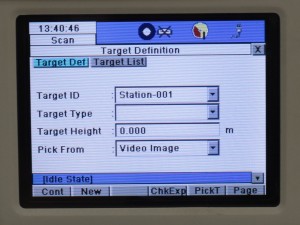
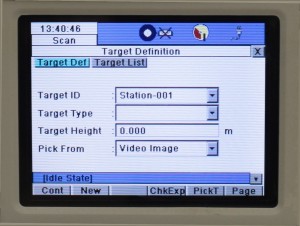
Click ‘New’ to create a new target in the scene.
Click into the ‘Target ID’ box and use the keyboard to input a target name – hit ‘Ent’. A recommendation would be to use ‘HDS1’, then ‘HDS2’ and so on if using more than one target in a scene.
[/wptabcontent]
[wptabtitle] ENTER THE TARGET HEIGHT[/wptabtitle] [wptabcontent] If you have set up the target over a known point you can enter a target height. Click ‘PickT’.
[wptabtitle] LINE UP THE SCANNER WITH THE TARGET[/wptabtitle]
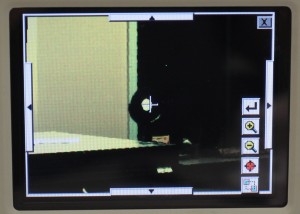
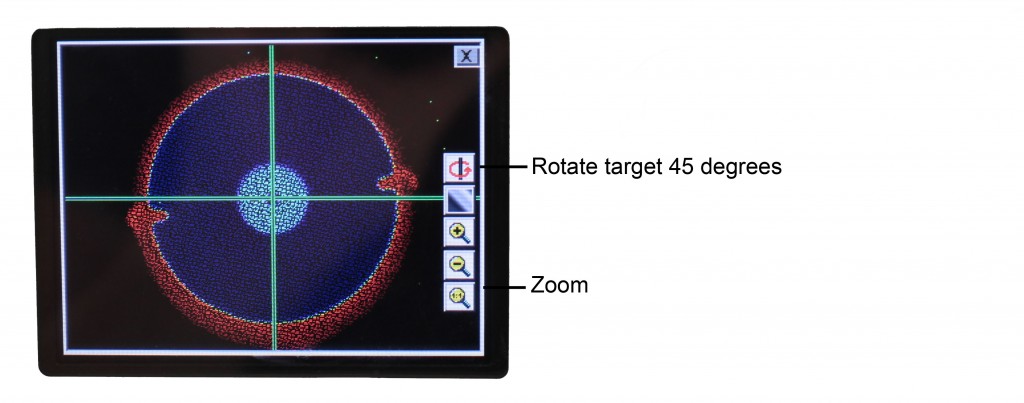
[wptabcontent] You will now see the live video feed – move the scan-head manually to roughly line up with the target. Using the video feed use the ‘SEEK’ tool to pick the centre of the target – use the zoom buttons to try to be as accurate as possible
Hit return, this will return you to the Targeting menu. Hit ‘Cont’. The scanner will now scan the target – this should take between 10-30 seconds.
Once completed you will see the following dialogue. Click ‘View’ to see the target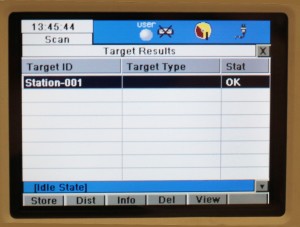
[/wptabcontent]
[wptabtitle] STORE AND CHECK THE TARGET[/wptabtitle]
[wptabcontent]VERY IMPORTANT: Hit ‘Store’ to ensure the target is copied into the database, the target list will not show the targets but it has been stored.
You can now check that the vertex is in the centre of the target. Hit ‘x’ to return to the previous menu
[/wptabcontent]
[wptabtitle] YOU’VE SCANNED STN1![/wptabtitle]
[wptabcontent] Congratulations – You have now finished scanning at STN1! Time to move to STN2.
Using the ‘x’ button move back to the Scan Parameter window
[/wptabcontent]
[wptabtitle] STARTING A SECOND SCAN STATION[/wptabtitle]
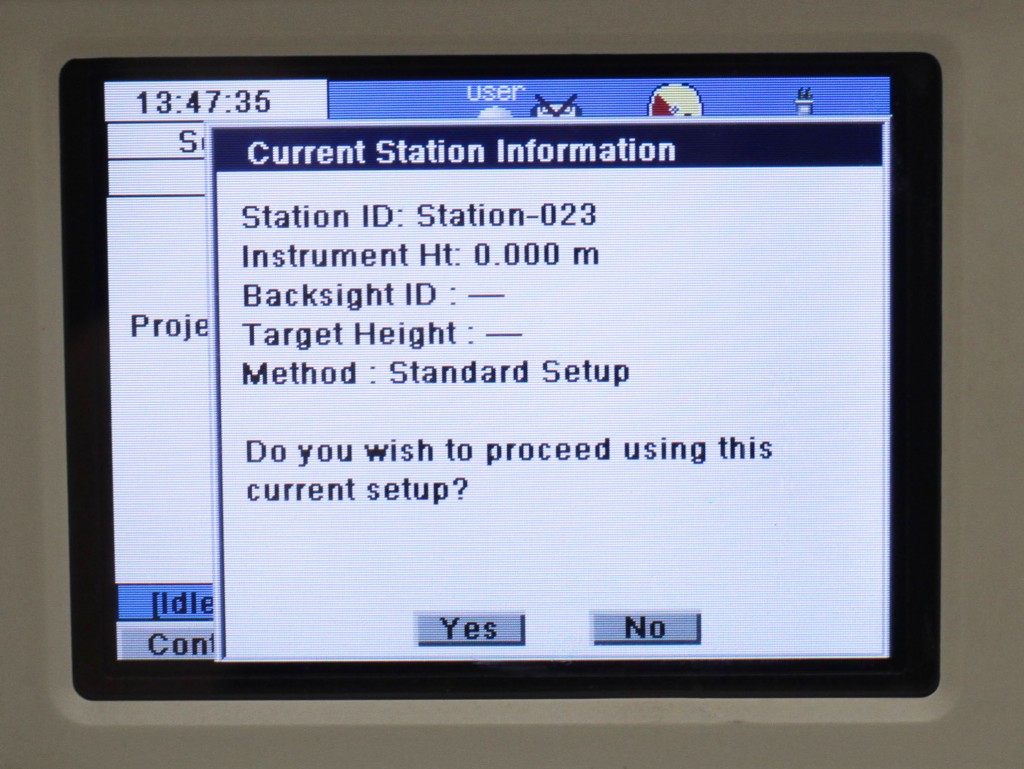
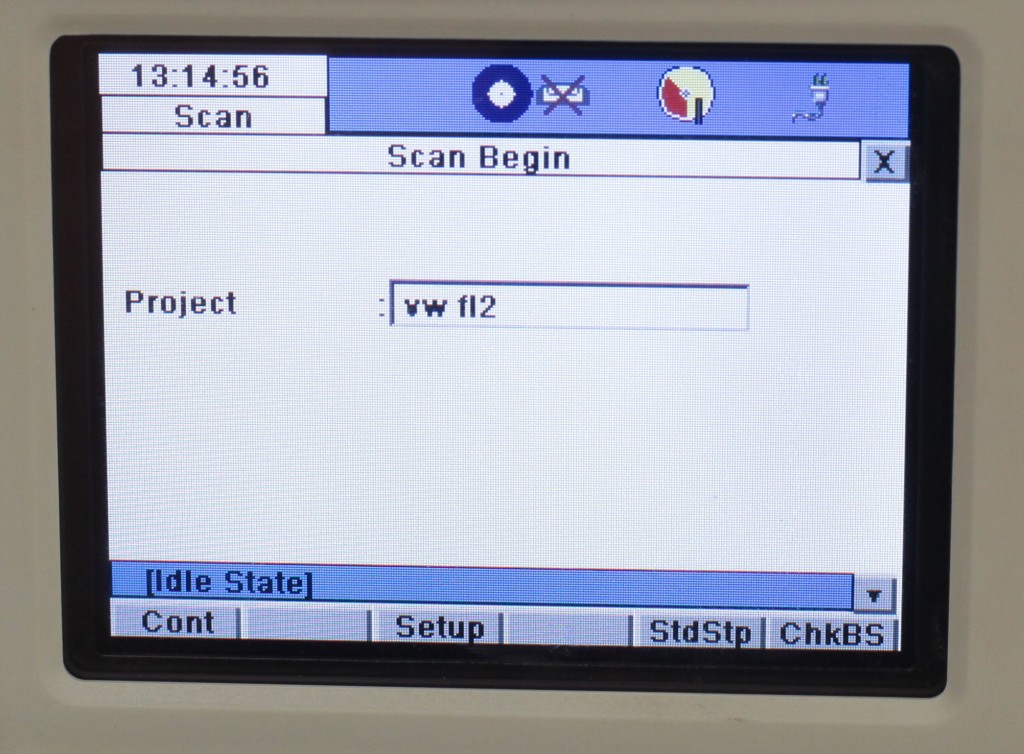
[wptabcontent]IMPORTANT: To set up STN2, click the ‘StdStp’ tab, which takes you to the scan parameters screen. DO NOT click ‘Cont’ as this will add more data into STN1. (If you are adding data to an existing station, a message will appear stating the Station Number and Current Station Information/Parameters – see below. Click no to avoid adding data to the previous station.)
[wptabtitle] VIEWING ALL SCAN STATIONS IN A PROJECT[/wptabtitle]
[wptabcontent] Clicking the Setup tab will display the project name and will show all stations collected so far. Recording each station on the field sketch and noting the station number in the setup tabs help to avoid confusion and overwriting data.
To continue scanning and acquiring data at STN2, repeat steps starting from the’Start Scanning,’
OR Continue to the next part in the series to transfer data to a USB Stick
[/wptabcontent]
[wptabtitle] CONTINUE TO…[/wptabtitle]
[wptabcontent] Continue to part 4 in the series,Leica C10: Exporting your scan data. [/wptabcontent] [/wptabs]
