These tutorials will show you how to digitize archaeological features from terrestrial scan data.
Hint: You can click on any image to see a larger version.
Drawing with the spline tool
In some cases using the pencil tool is not convenient. Cases include places where there are unhealed holes in the mesh and places where individual points need to be places in close proximity to one another in an irregular pattern. Any drawing will likely involve both the pencil and spline tools.
[wptabs style=”wpui-alma” mode=”vertical”] [wptabtitle] THE SPLINE TOOL[/wptabtitle] [wptabcontent]Select the “Spline” tool from the “3d Mesh Sketch” Menu
Fig. 31: The Spline tool[/wptabcontent]
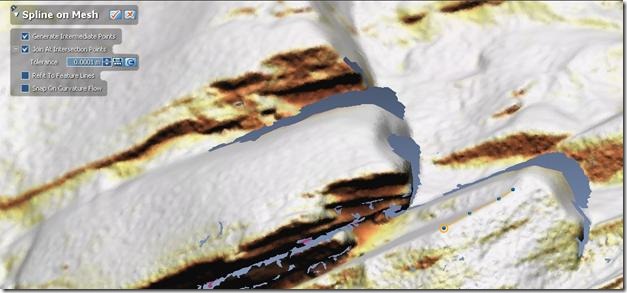
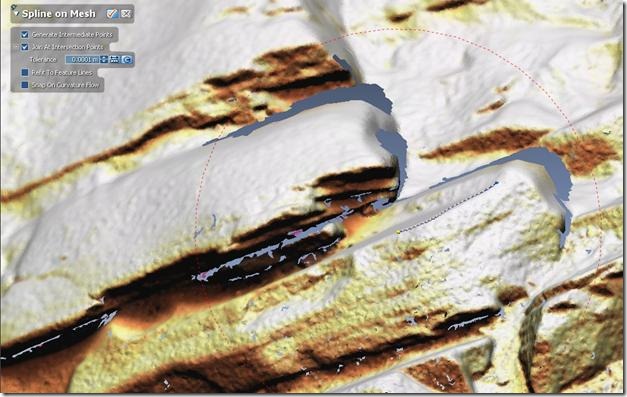
[wptabtitle] NAVIGATE WITH THE SPLINE TOOL[/wptabtitle] [wptabcontent]As with the pencil tool, zoom in and navigate through the mesh to obtain a good view of the area you are digitizing. Place individual vertices at the desired locations on the mesh. The current vertex will be circled. Both vertices and the polyline will be drawn as they are created.
Fig. 32: Drawing a spline on a mesh.[/wptabcontent]
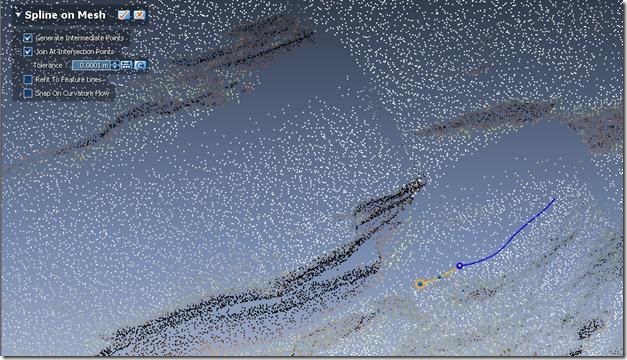
[wptabtitle] RENDERING DURING NAVIGATION[/wptabtitle] [wptabcontent]The mesh will be rendered as a point cloud during navigation.
Fig. 33: Navigating while in spline drawing mode.[/wptabcontent]
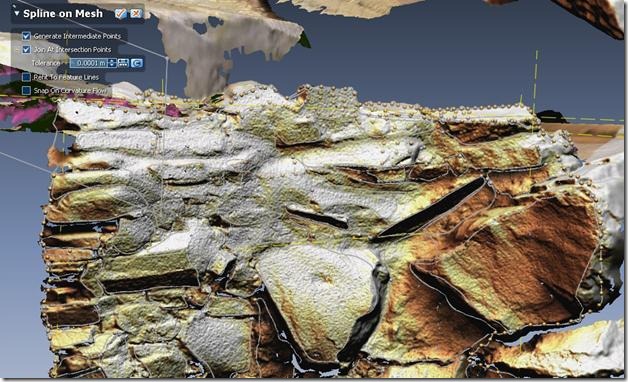
[wptabtitle] CHECK SPLINE ALIGNMENT[/wptabtitle] [wptabcontent]Zooming out provides an opportunity to check that new features align well with previously created ones, and that the overall interpretation is coherent.
Fig. 34: Checking the coherence of a group of splines. [/wptabcontent]
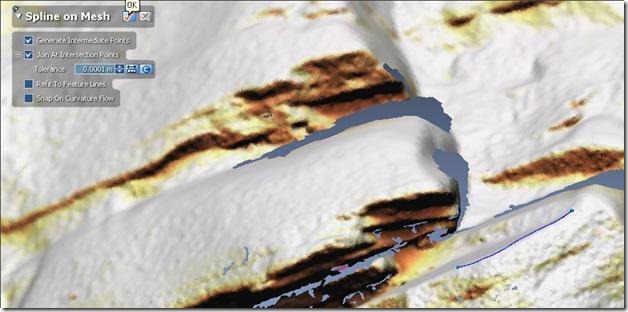
[wptabtitle] COMMIT EDITS[/wptabtitle] [wptabcontent]Commit edits to the “Spline” tool by clicking on the “Check” box.
Fig. 35: Committing edits for the spline tool. [/wptabcontent]
[wptabtitle] ADD MORE SPLINE SEGMENTS[/wptabtitle] [wptabcontent]To add further continuous segments, continue to use the “Spline” tool. Hover the mouse over the endpoint and it will be highlighted with a dashed circle around it. Clicking will snap the first point of a new polyline to the highlighted endpoint.
Fig. 36: Snapping with the spline tool. [/wptabcontent]
[wptabtitle] SPLINE TOOL VS. PENCIL TOOL[/wptabtitle] [wptabcontent]Comparing the Pencil and Spline tools
The Spline Tool
-Advantages: Using the spline tool you can place vertices in meaningful locations and have more control over the form of the final vector.
-Disadvantages: This method is slower than using the pencil tool and requires frequent navigation in the point cloud to ensure you are picking good points for vertex placement.
The Pencil tool
-Advantages: Significantly faster drawing and snapping to faces on the mesh, continuous point generation.
-Disadvantages: If there are holes in your mesh, the vector created by the pencil can more easily ‘fall through’ those holes, creating wild loops.
[/wptabcontent]
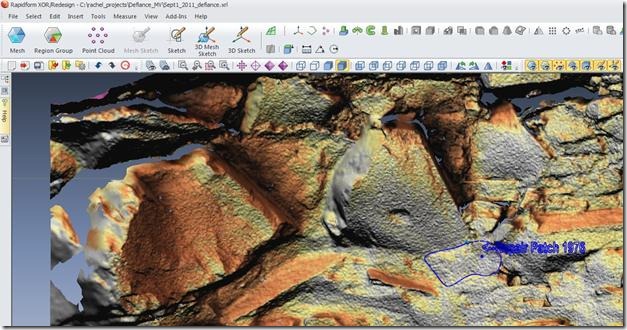
[wptabtitle] ADDING ANNOTATIONS[/wptabtitle] [wptabcontent]To insert text annotations into the model, enter the 3D sketch mode by selecting the 3D Sketch button from the main menu.
Then select the Text button.
Left click at the desired location to insert the text. Adjust options for size and font as desired.
n.b. The Rapidform freeviewer provides more flexible options for inserting annotations. It may be preferable to complete this step of the process using the freeviewer. More information on annotating models can be found in the Rapidform Freeviewer workflow.
Fig. 37: Adding text annotations.
[/wptabcontent] [/wptabs]

