(AKA The Meshing in Rapidform Tutorial)
These tutorials will show you how to digitize archaeological features from terrestrial scan data.
Hint: You can click on any image to see a larger version.
Begin by cleaning any obviously erroneous noise from the dataset. Left click and drag to select outliers and press “Delete”.
Fig. 12: Obtaining the correct alignment.[/wptabcontent]
[wptabtitle] THE GENERATE MESH BUTTON[/wptabtitle] [wptabcontent]Select the “Point Cloud” button and then the “Generate Mesh” button from the point cloud menu.
Fig. 13: The Point Cloud button[/wptabcontent]
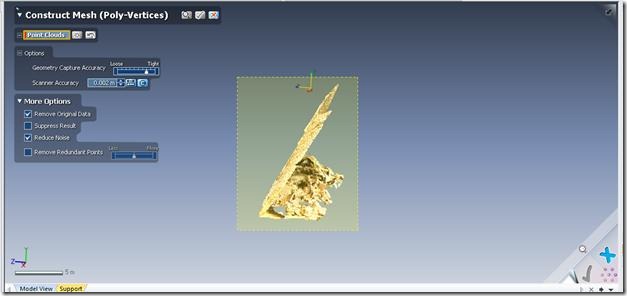
[wptabtitle] MESH THE WHOLE DATASET[/wptabtitle] [wptabcontent]Generate a mesh for the entire dataset by left clicking and dragging to select the entire point mesh.
Fig. 14: Whole model mesh construction.[/wptabcontent]
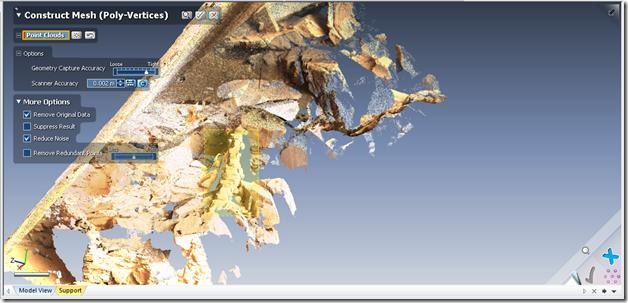
[wptabtitle] MESH A SUBSET OF THE DATASET[/wptabtitle] [wptabcontent]OR generate a mesh for a subset of the dataset by only selecting that area, either manually
Fig. 15: Limited area mesh construction.[/wptabcontent]
[wptabtitle] SUBSET USING THE VIEW CLIP BOX STEP 1[/wptabtitle] [wptabcontent]OR using a View Clip Box.
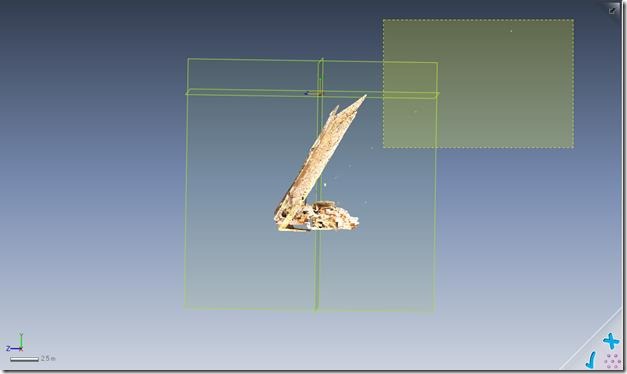
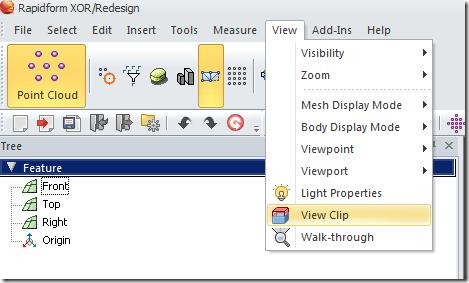
To use a View Clip Box, exit the “Construct Mesh” menu and select “View” and then “View Clip”.
Fig. 16: The View Clip tool.[/wptabcontent]
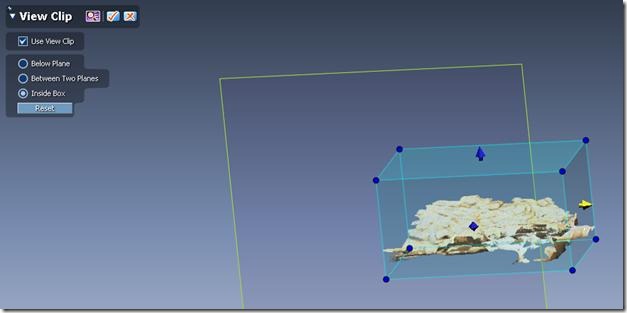
[wptabtitle] SUBSET USING THE VIEW CLIP BOX STEP 2[/wptabtitle] [wptabcontent]Select “Inside Box” and adjust the position and size of the box by clicking on the blue arrows and nodes (which turn yellow when selected). Press the “check” button to commit changes to the View Clip.
Fig. 17: Interactive view clipping.
Then return to the “Construct Mesh” menu to build the local mesh.[/wptabcontent]
[wptabtitle] CONTINUE TO…[/wptabtitle] [wptabcontent]If your mesh is especially dirty, continue to Mesh Cleaning in Rapidform.
Otherwise continue directly to Digitizing Using the Penicl tool in Rapid Form.[/wptabcontent]
[/wptabs]
