This post will show you how to build the geometry and texture for your 3D model and how to export it for use in ArcGIS.
Hint: You can click on any image to see a larger version.
[wptabs mode=”vertical”] [wptabtitle] Rebuild Geometry[/wptabtitle]
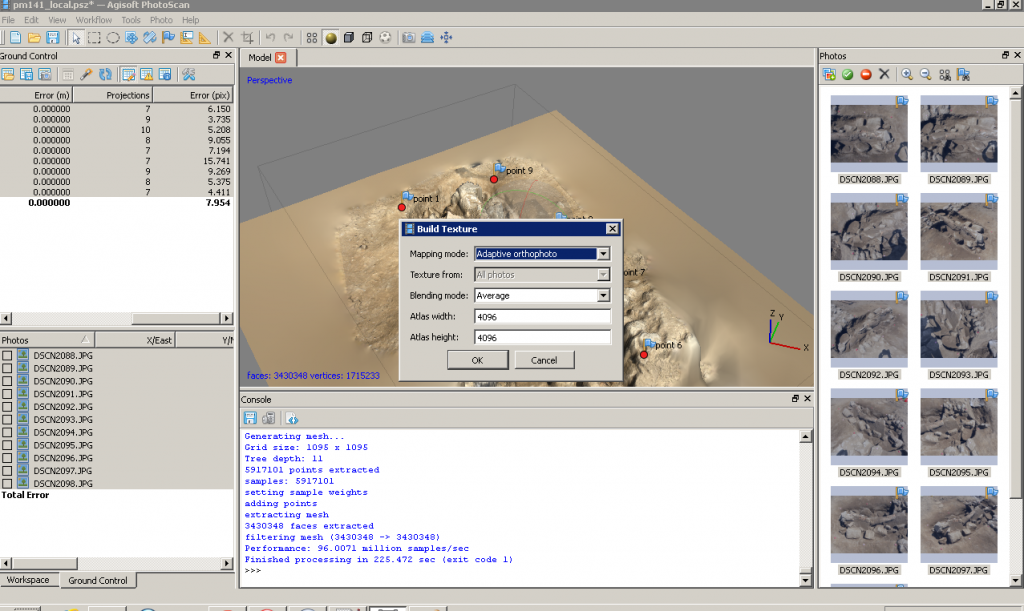
[wptabcontent]After the model is georeferenced, rebuild geometry at the desired resolution. Photoscan produces very high poly-count models, so we like to build two models, a high resolution one for archiving and measurements and a lower resolution one for import into ArcGIS for visualization and general reference. Keeping the polycount low (circa 100,000 faces) in the ArcGIS database helps conserve space and speeds up loading time on complicated scenes with multiple models. To make sure the lower poly-count model looks good, we build the textures using the high poly-count model and apply them to the lower poly-count model.
So… Select ‘Workflow’ and ‘Build Geometry’ from the main menu as before. Then select ‘Workflow’ and ‘Build Texture’.

[/wptabcontent]
[wptabtitle]Decimate the model[/wptabtitle]
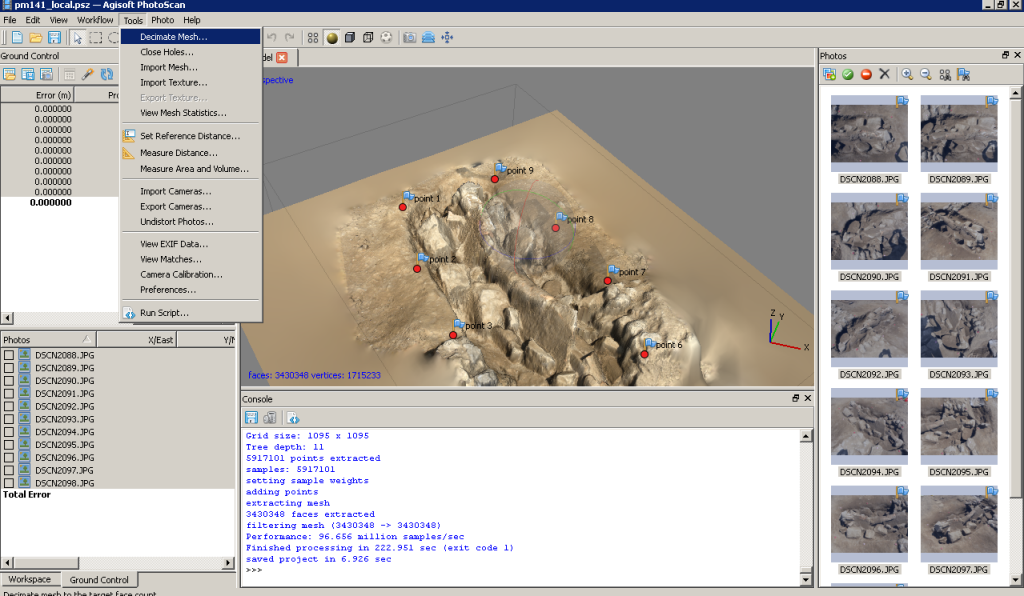
[wptabcontent]Under ‘Tools’ in the main menu you can select ‘Decimate’ and set the desired poly-count for the model. The decimated model will likely have a smoother appearance when rendered based on vertex color, but will appear similar to the higher poly-count model once the texture is applied.
[wptabtitle]Export the model[/wptabtitle]
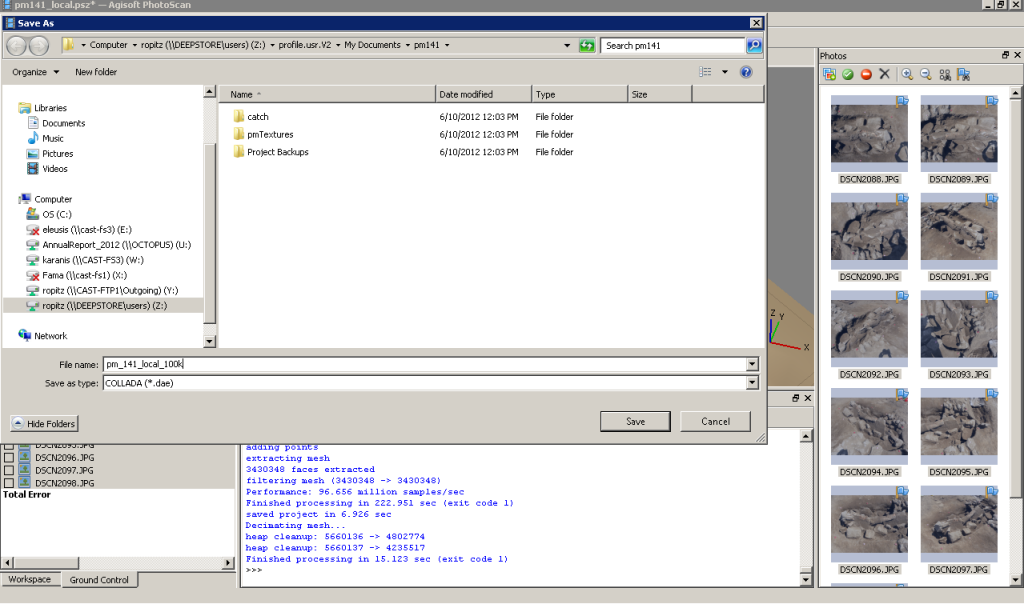
[wptabcontent] Export the models and save them as collada files (.dae) for import into ArcGIS. You may select a different format for archiving, depending on your project’s system. Choose ‘File’ and ‘Export Model’ from the main menu.

[/wptabcontent]
[wptabtitle] Continue to…[/wptabtitle]
Continue to Photoscan to ArcGIS
[wptabcontent]
[/wptabs]
